Testing Your Integrations with Connxio
Connxio provides powerful testing features to ensure the smooth operation of your integrations. You can create test groups and execute test runs. This documentation will guide you through using these testing features effectively. Tests will count towards your subscription usage.
Test Groups
Test groups allow you to group together different integration configurations and send files between systems for testing. To create a test group, follow these steps:
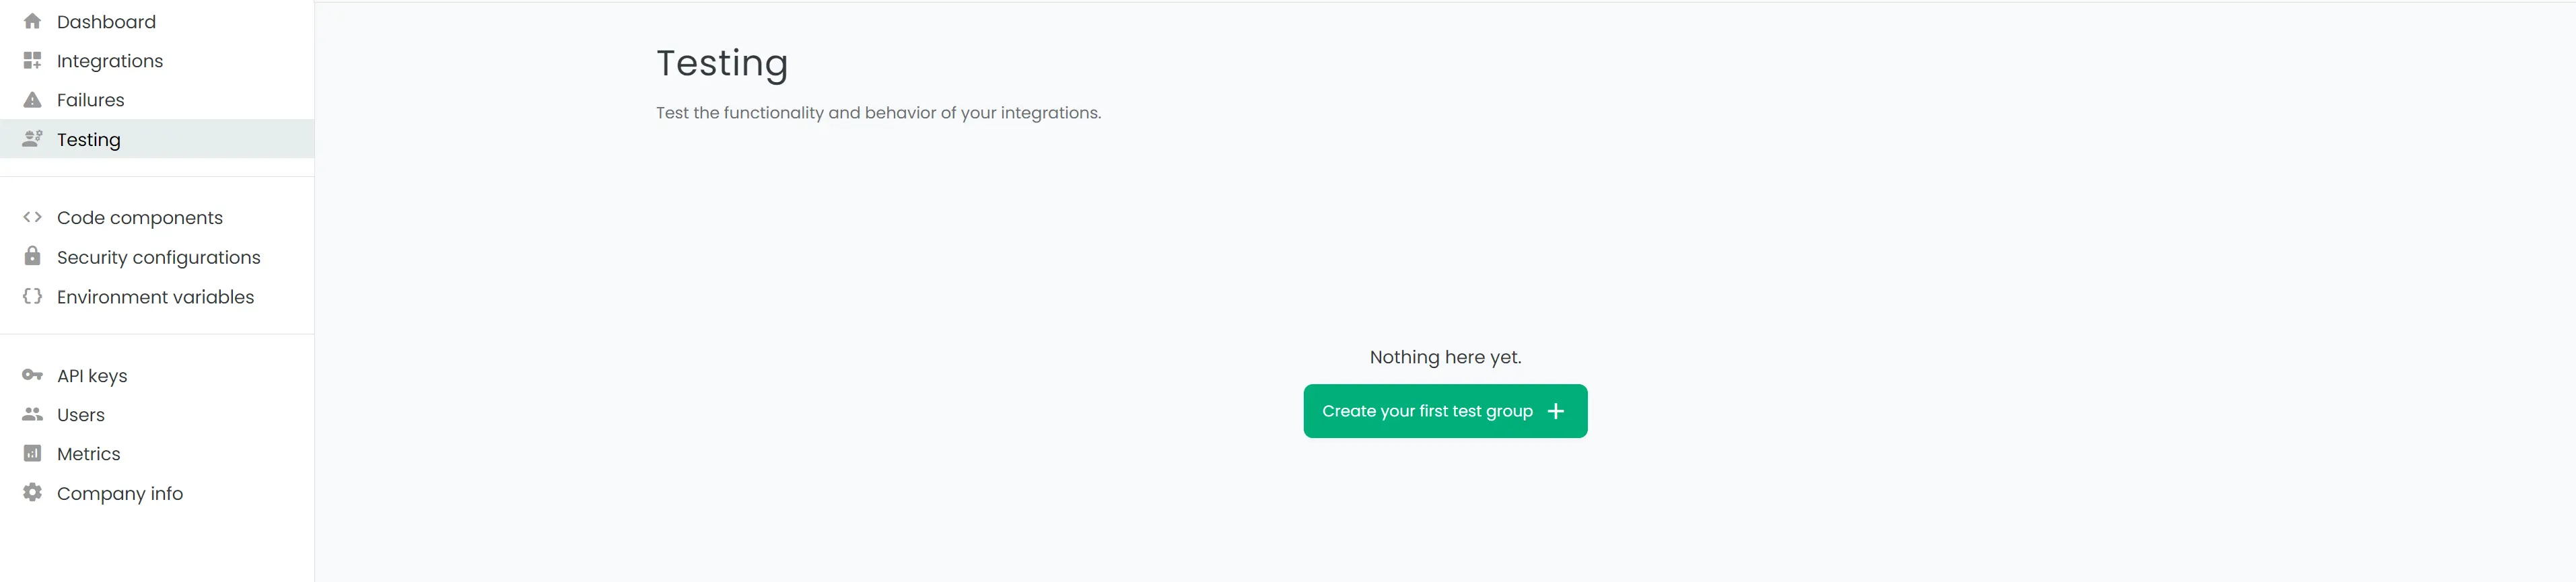
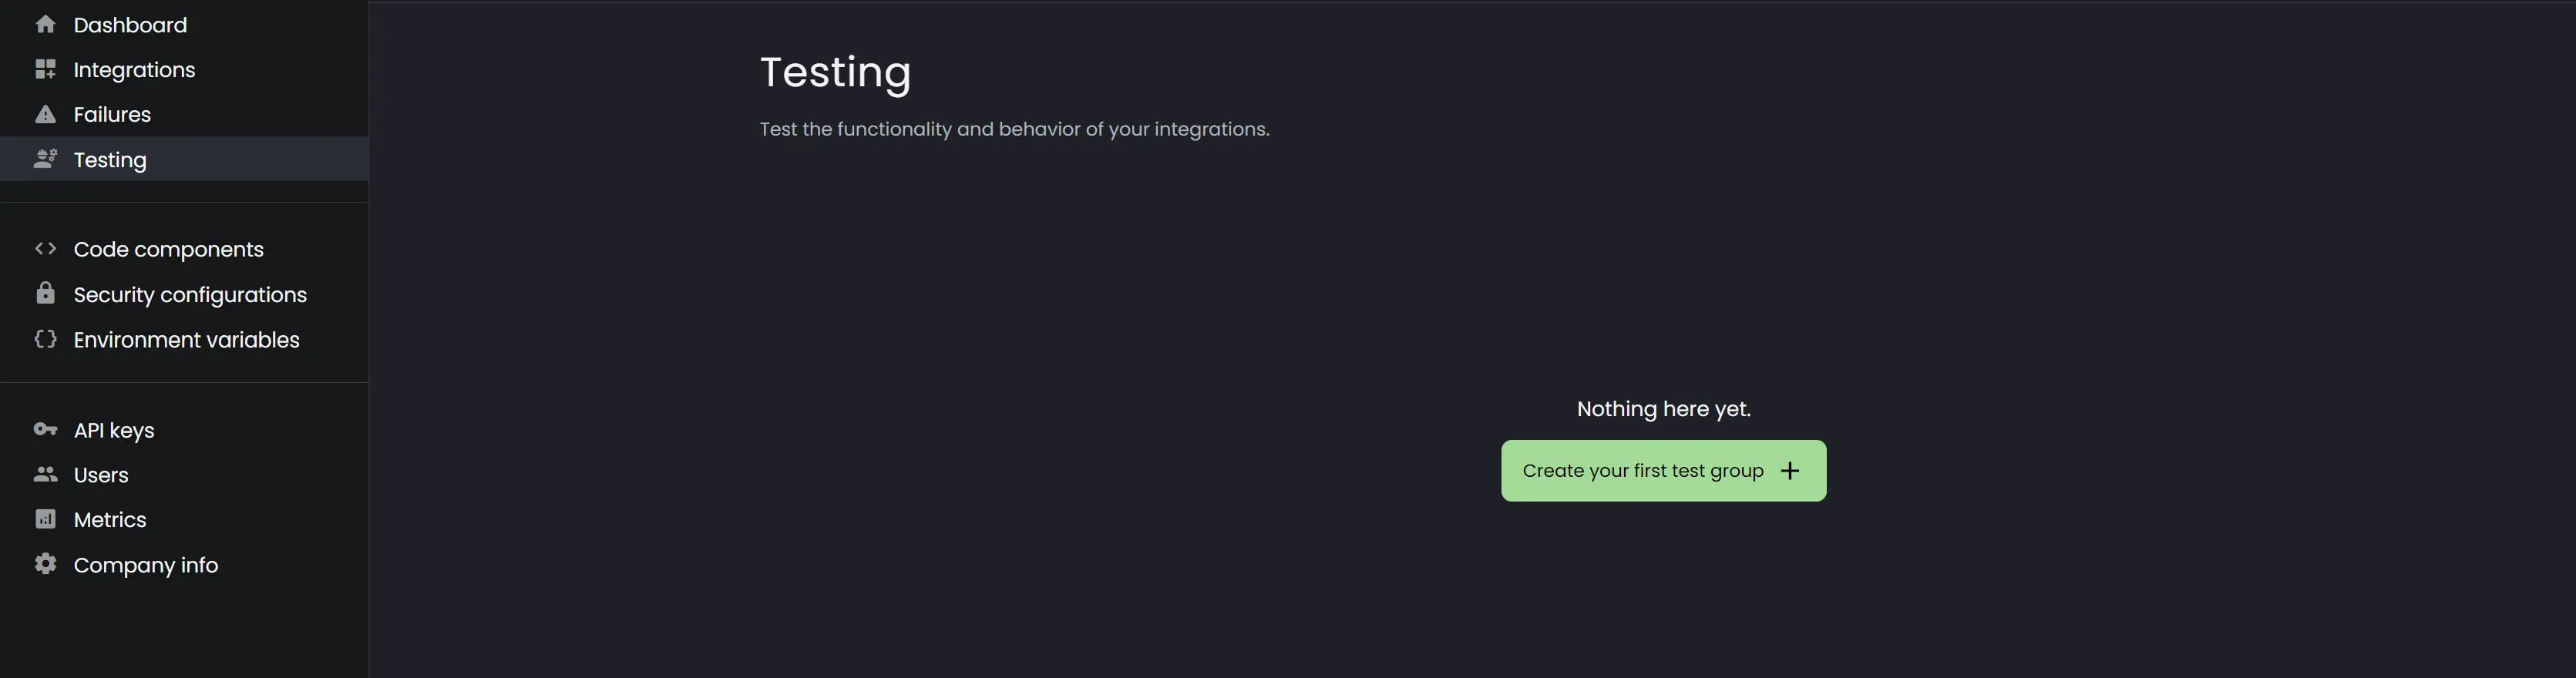
- Log in to the Connxio web portal and navigate to the "Testing" section.
- Click on the "Create your first test group" button to initiate the creation process.
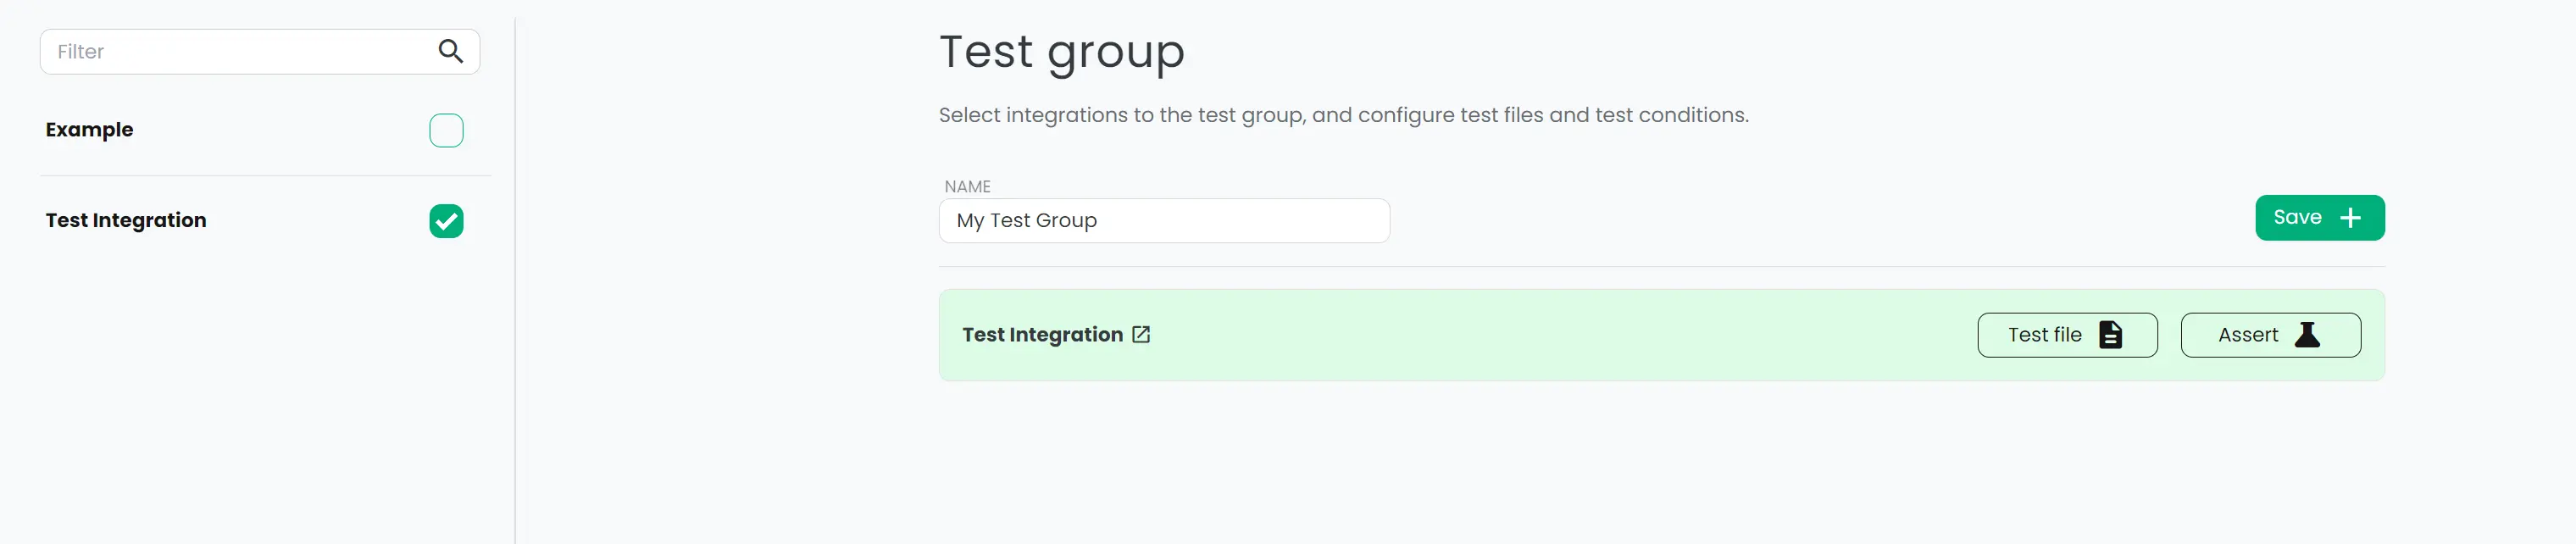
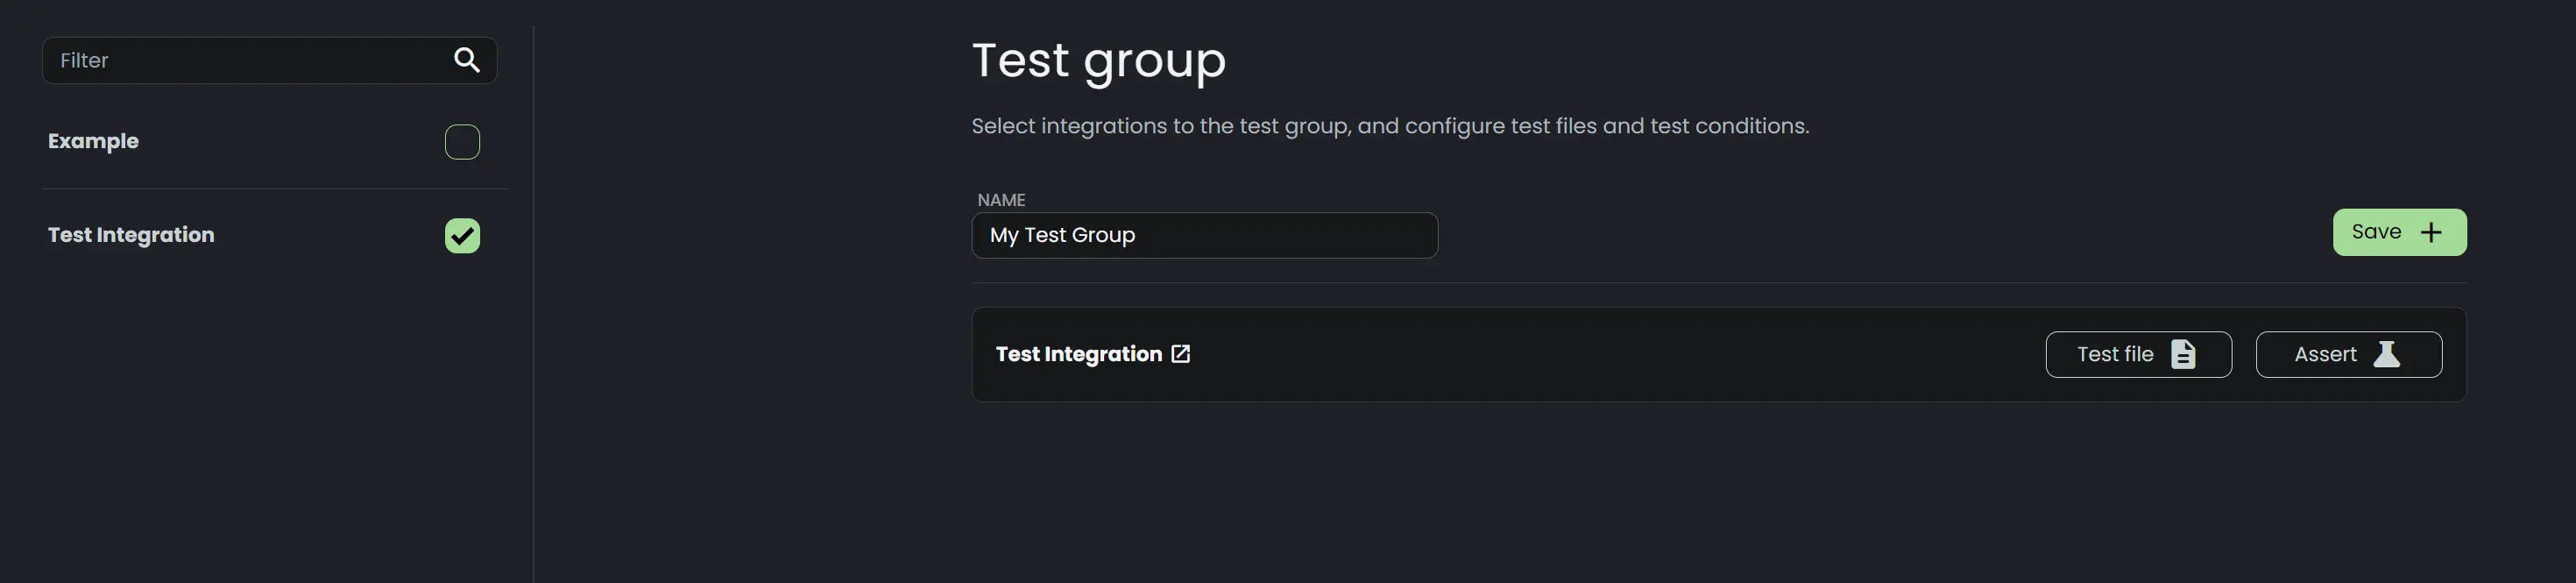
- Provide a name for your test group to identify its purpose.
- Add the desired integration configurations to the test group from the list on the left hand side.


- Click the Save button.
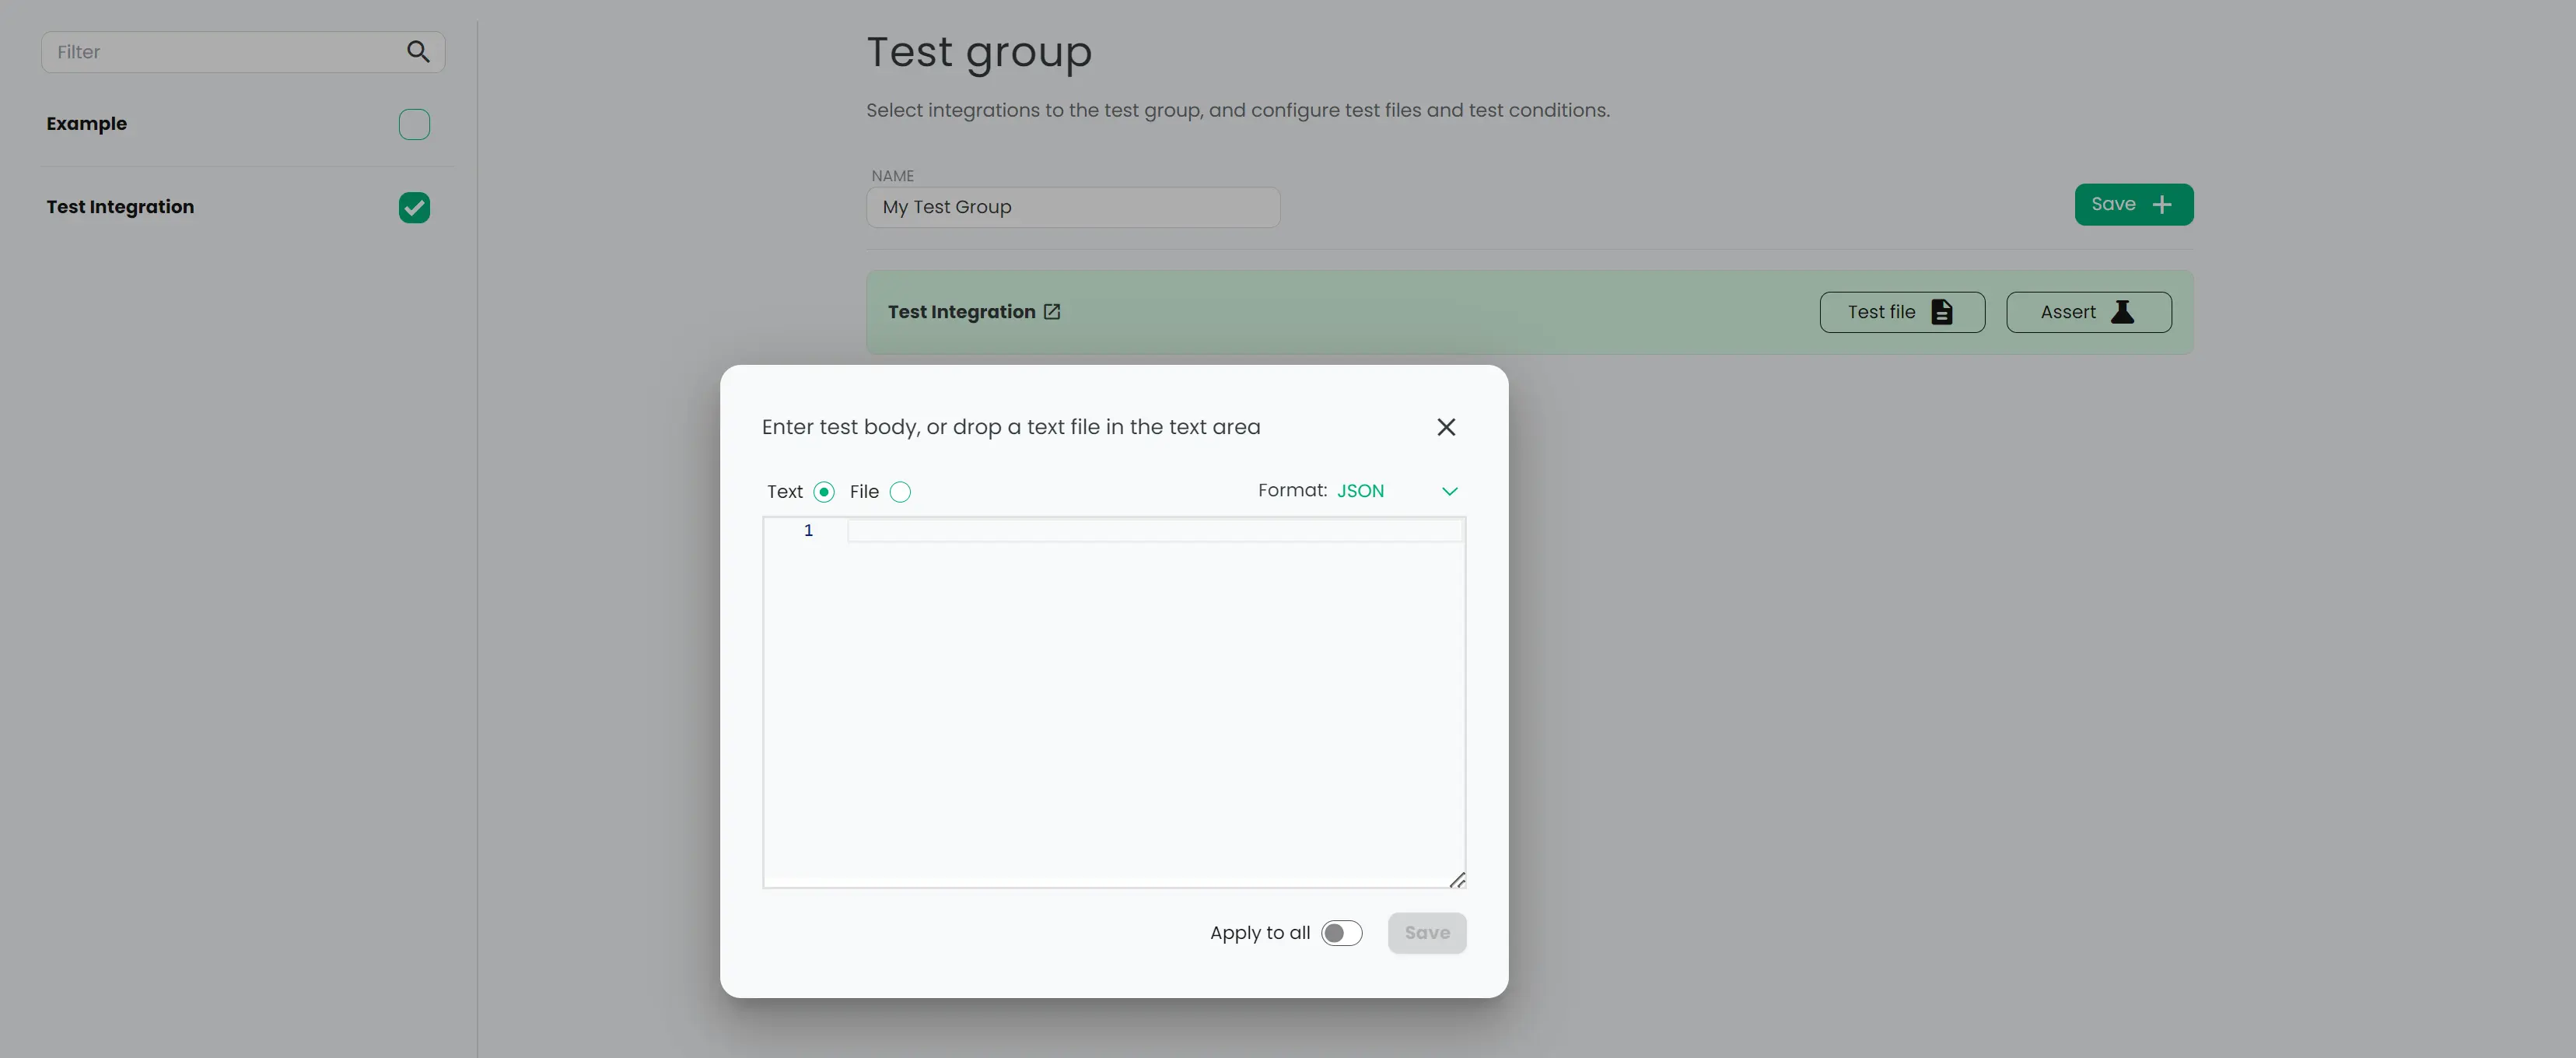
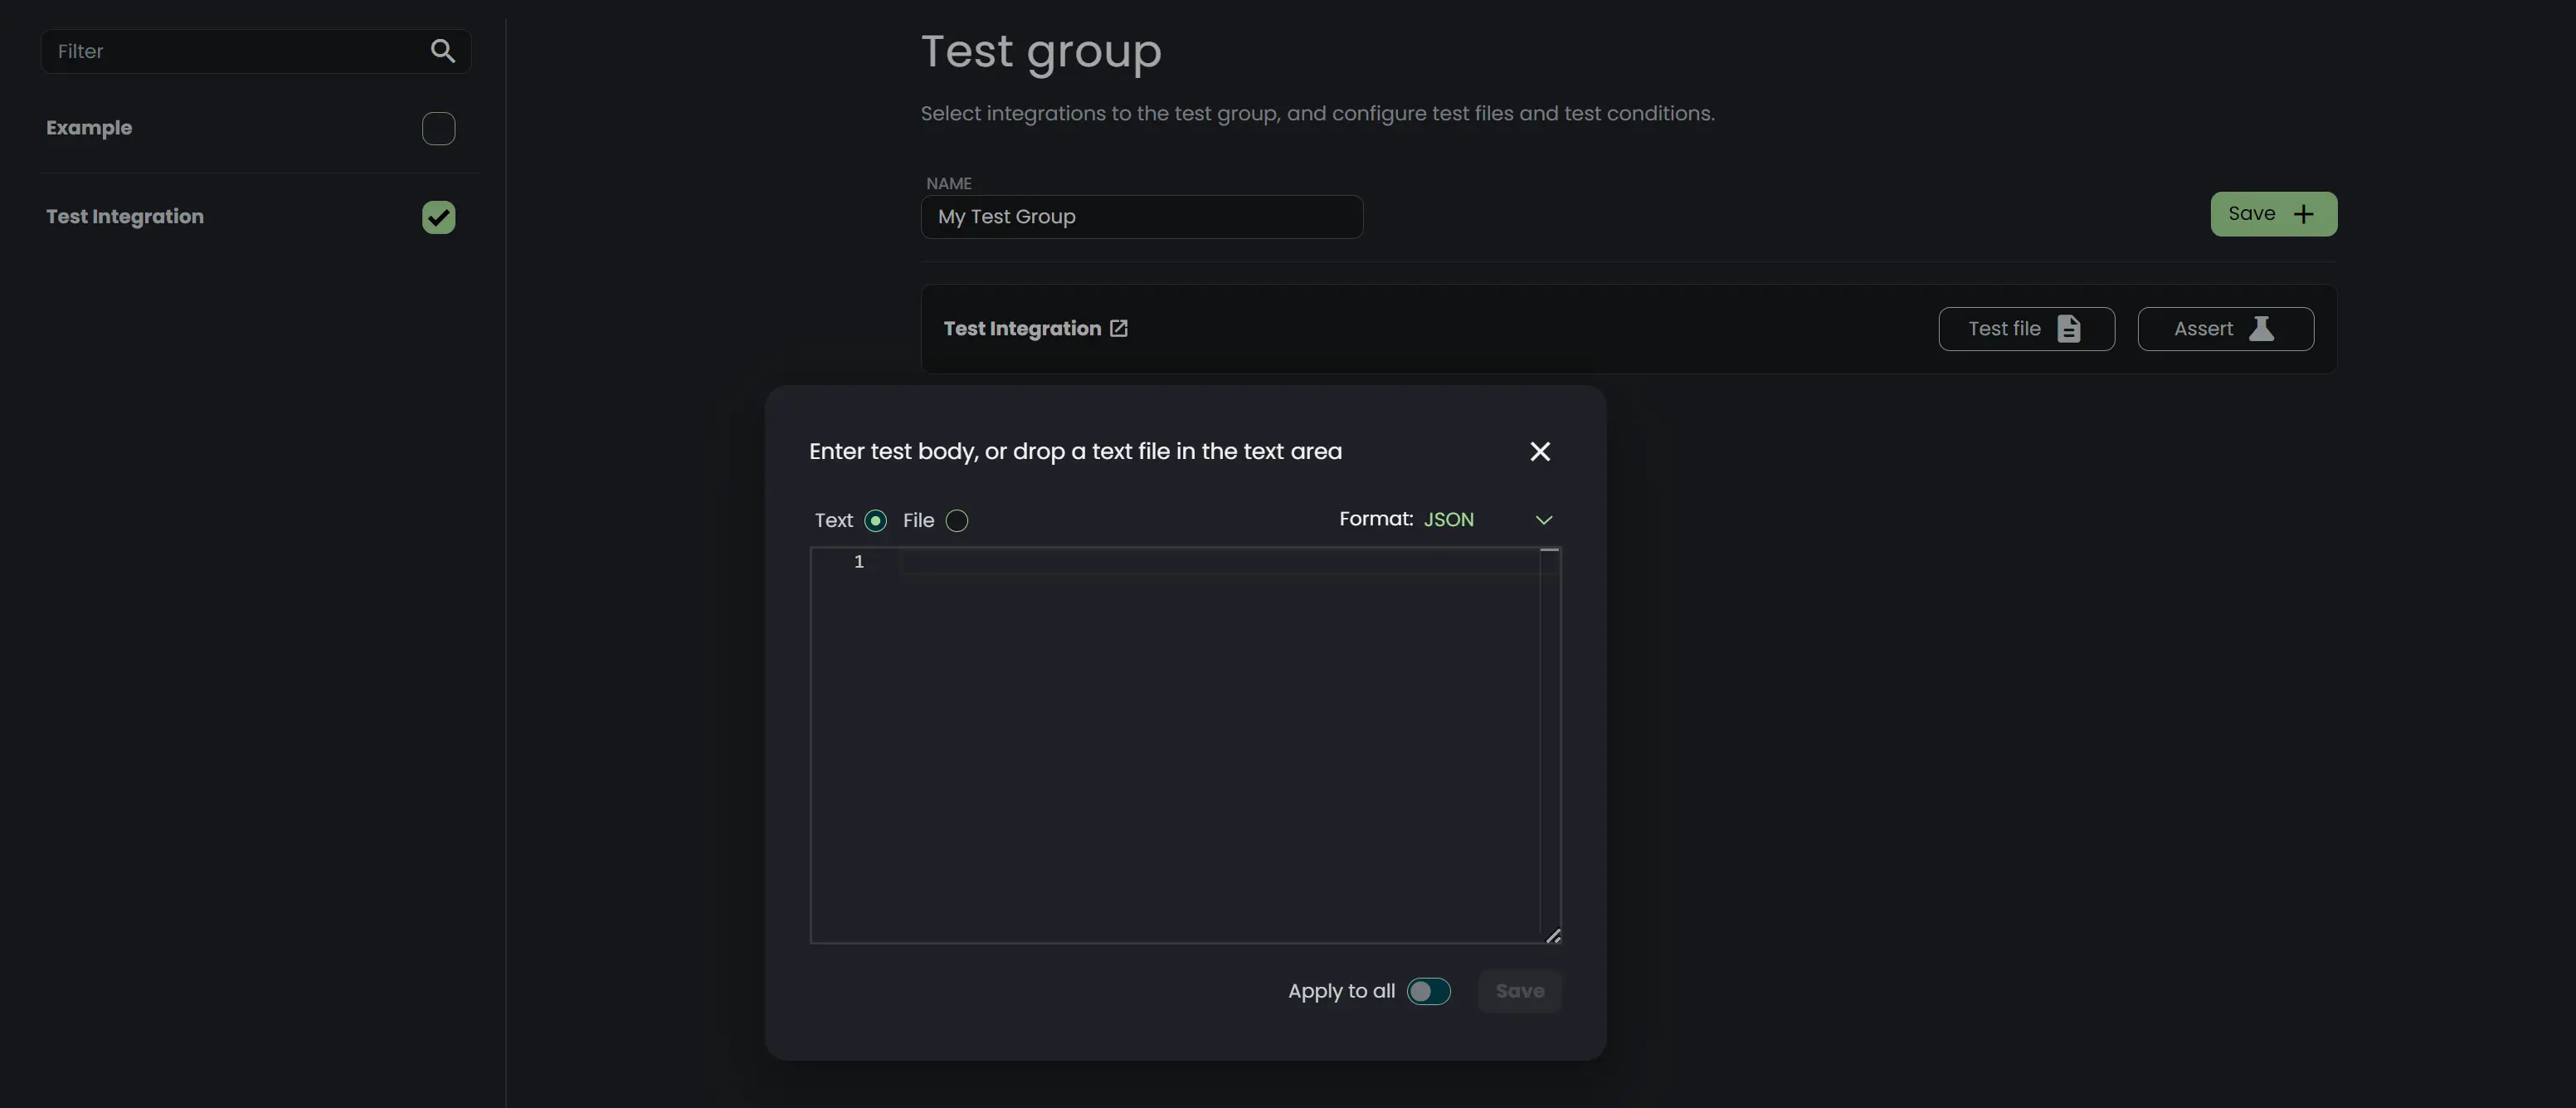
- When the test group has been saved, two buttons appear on the test group; Test file and Assert
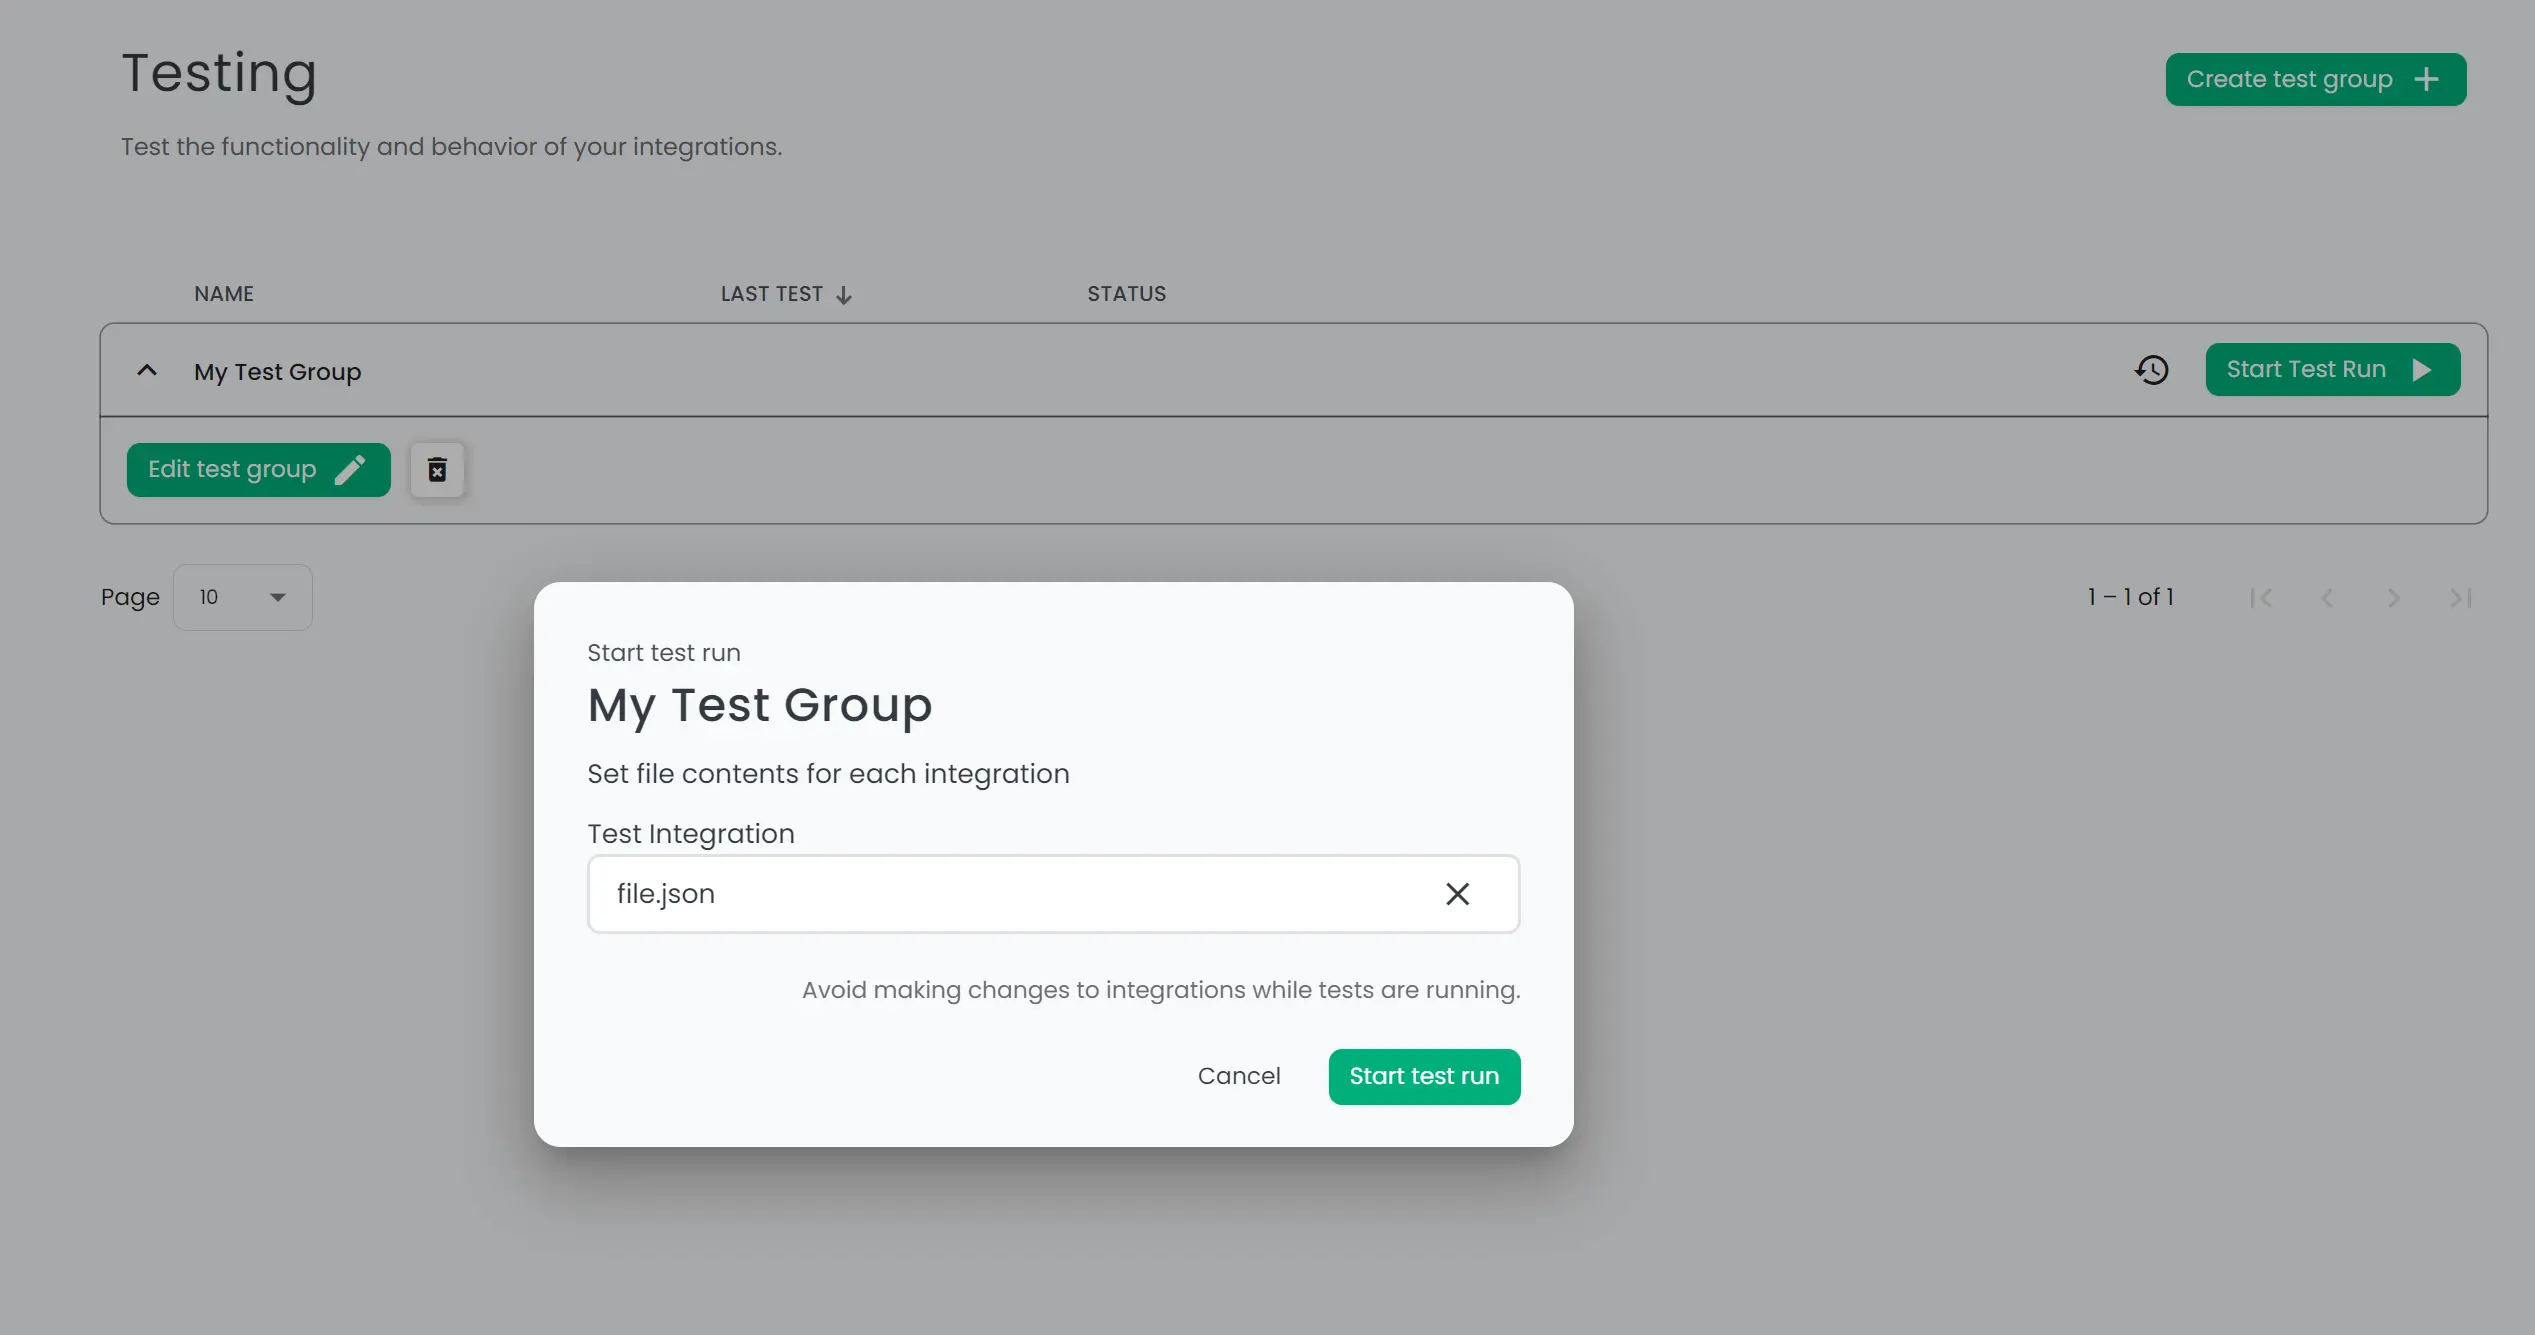
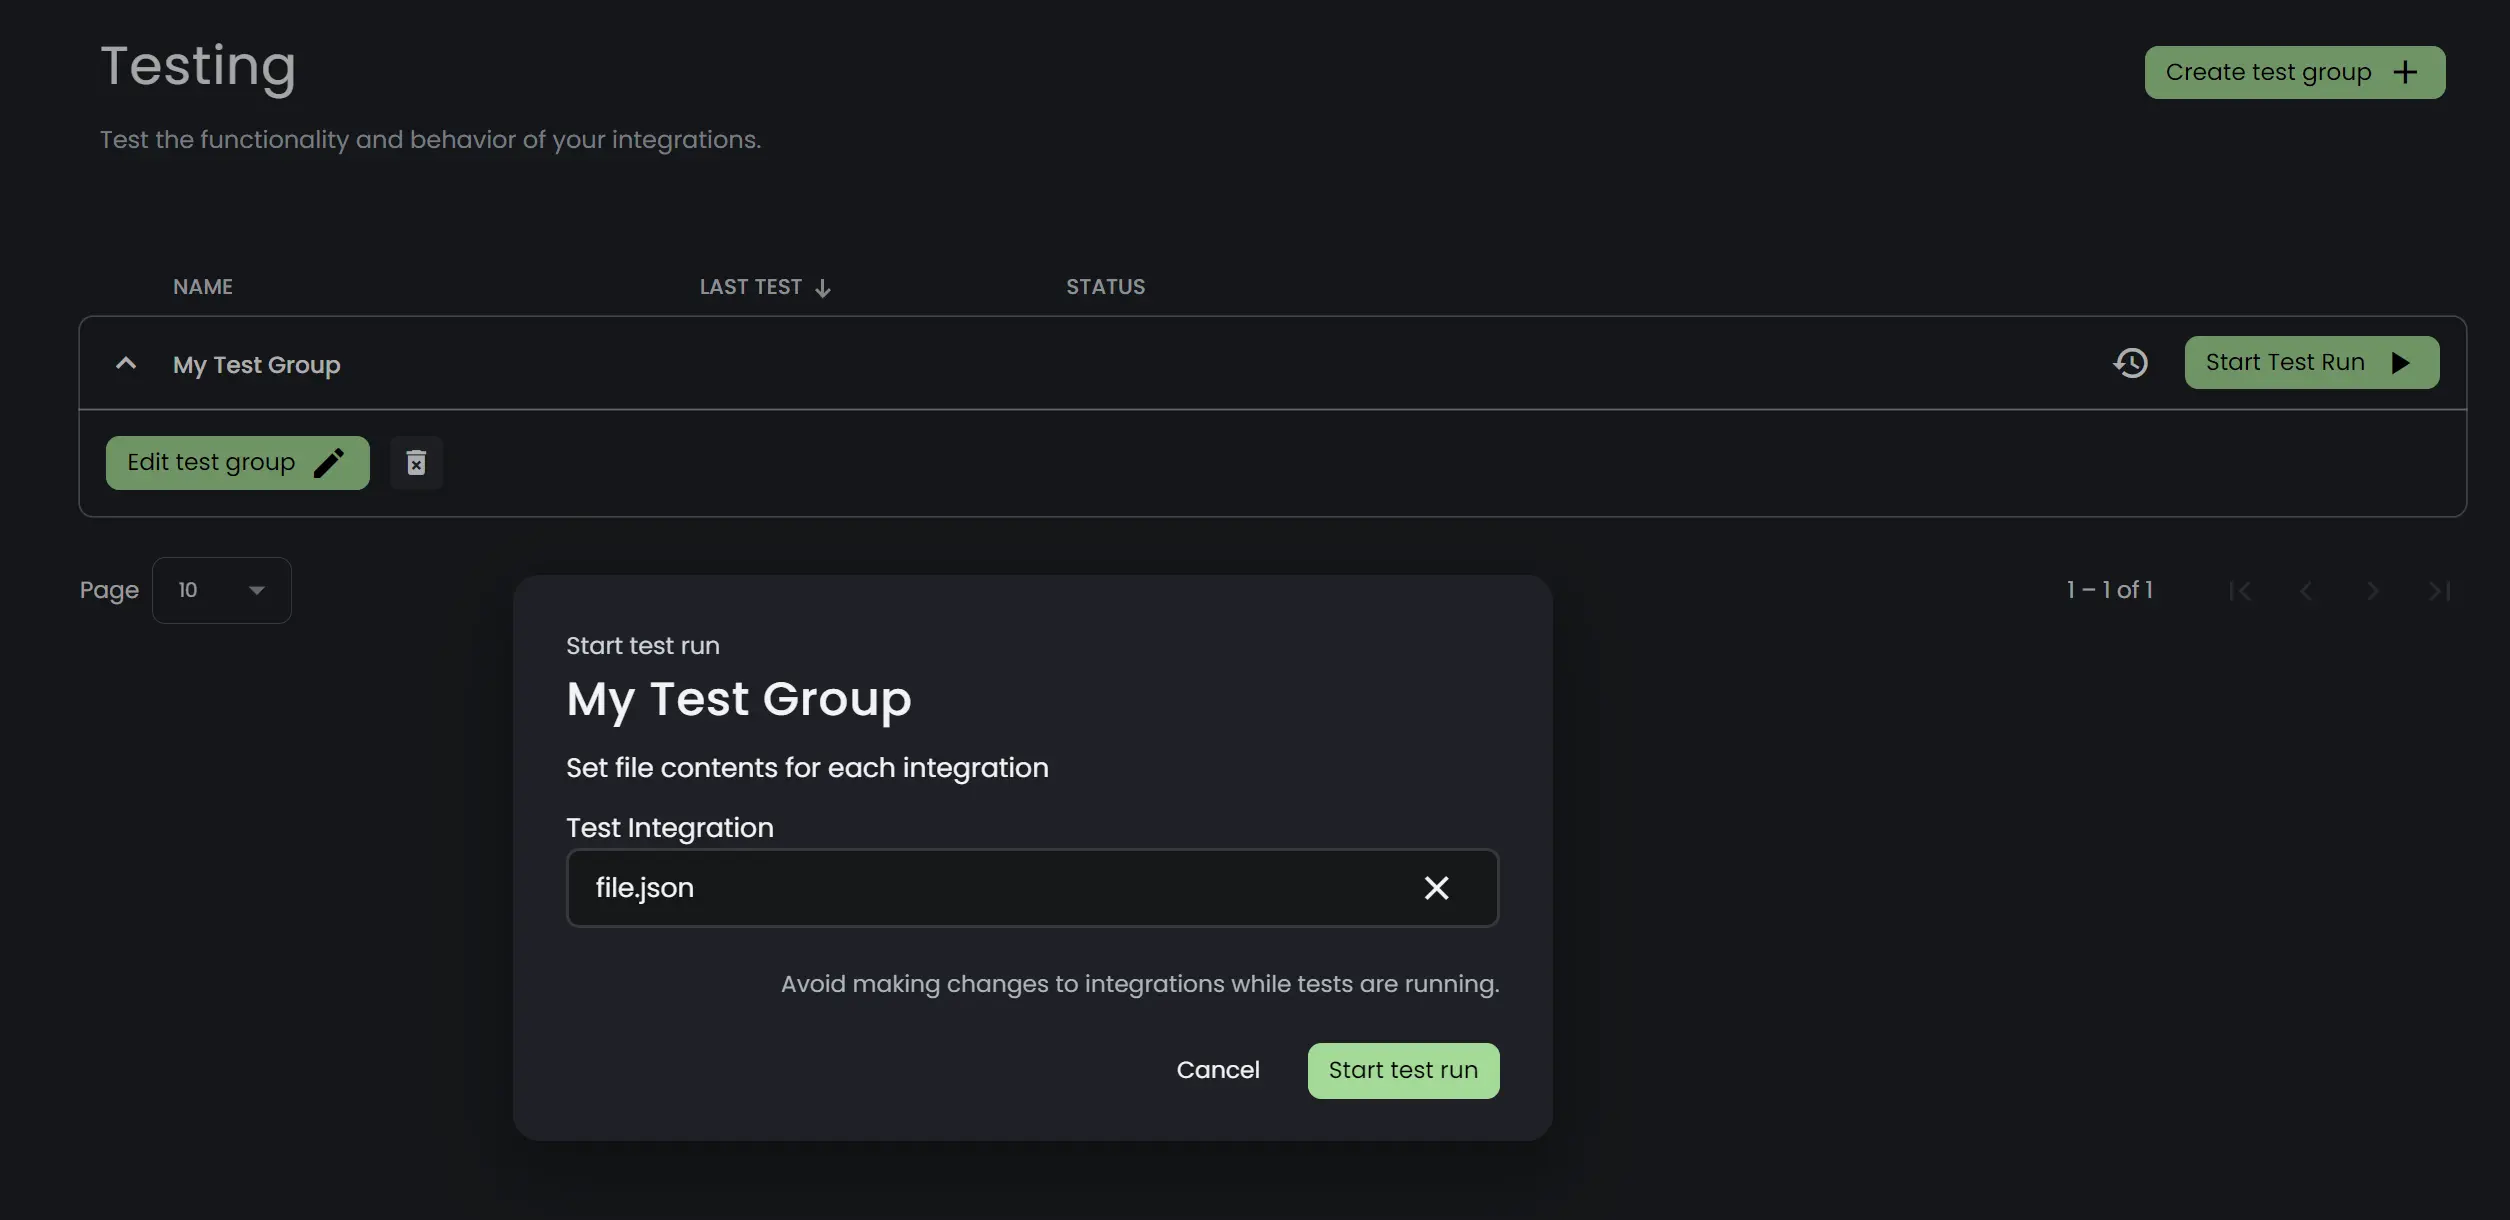
- On clicking Test file you can upload an input file or insert the text directly that will be used for testing. This can be done for each integration or toggle the Apply to all. Save any changes made.
- Connxio also allows you to set test conditions for the test group. Click on the Assert button to set the conditions using the CxMAL StatusEvent macro. Using this macro, you can perform negative and positive assertions on the test run, check for specific error codes, and more.
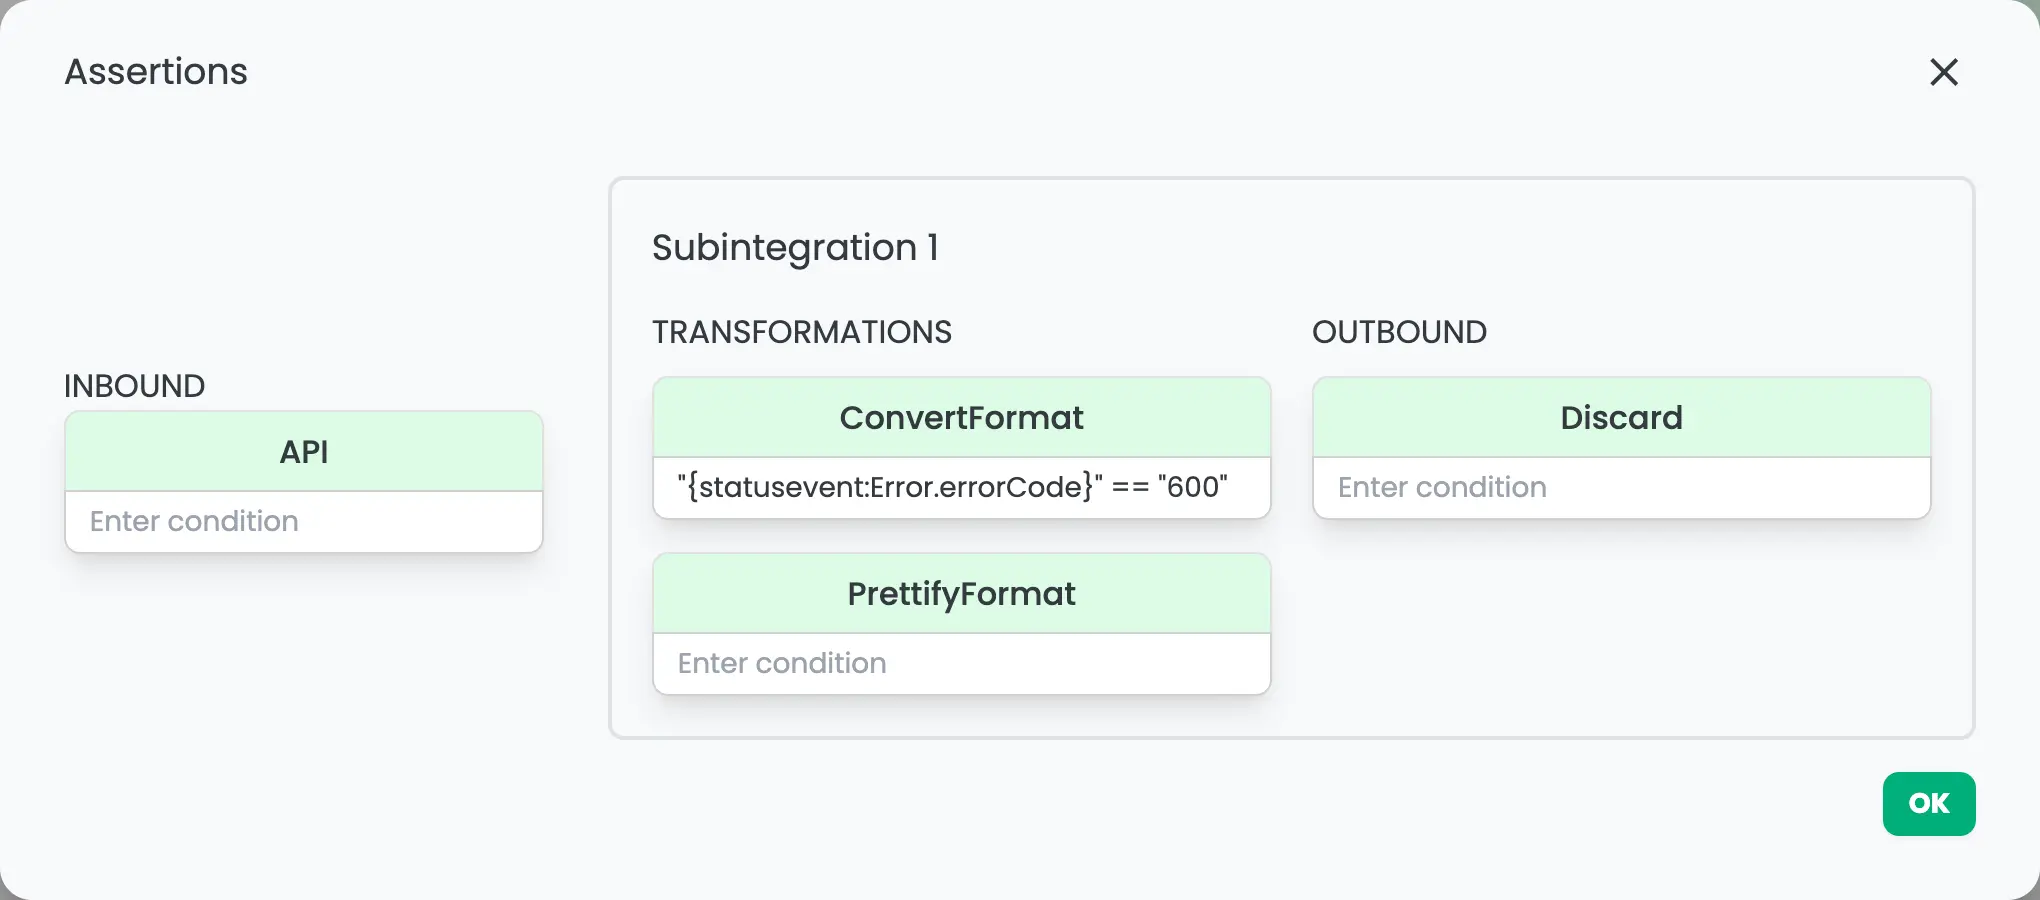
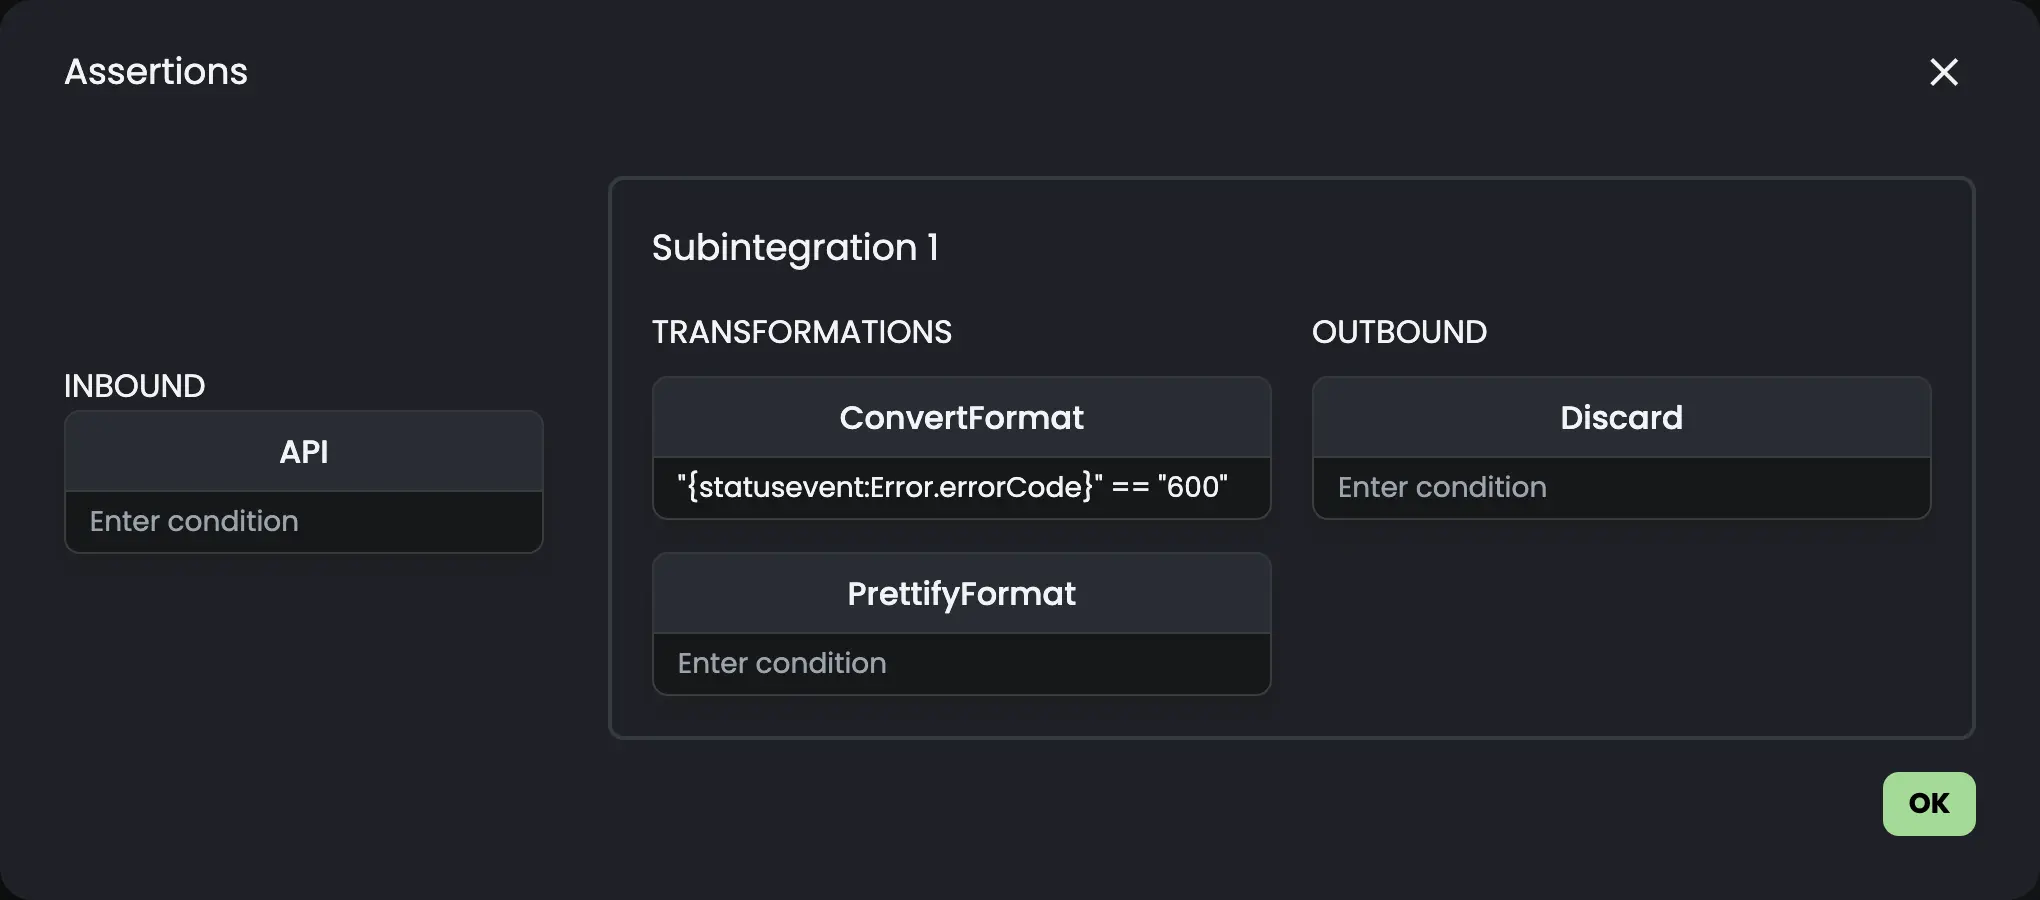
In this scenario the test is expected to fail, but using CxMAL we can assert that the error code is 600. This will allow the test to pass.
- Once the configurations and input files are set, click on "Start test run" to begin the test. You need to create an API key to start a test run that includes integrations with the API inbound type.
Test Runs
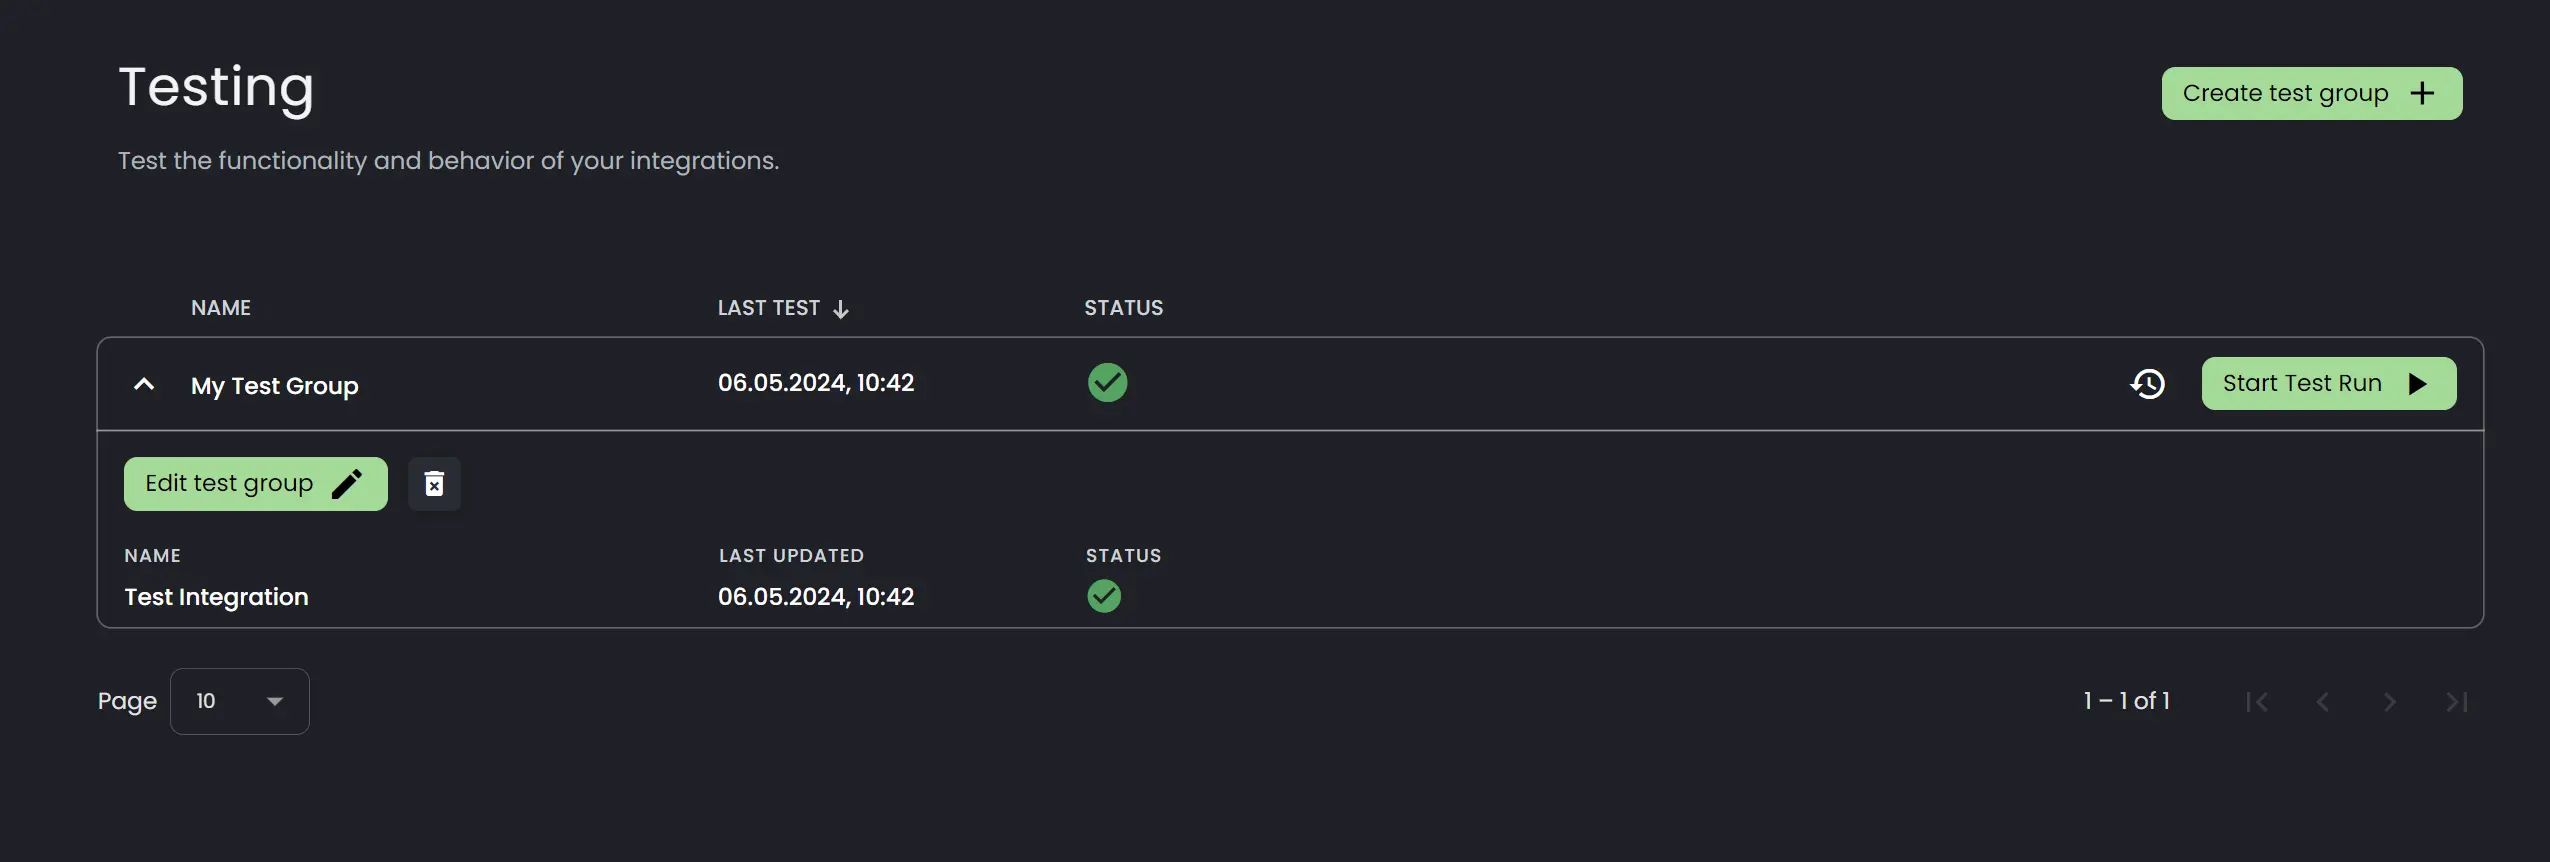
Test runs execute the defined integration configurations within a test group and provide valuable insights into the status of each integration. When viewing the test group overview, the latest test run will be displayed as the test group's status. To view historical test runs, click the "History" button to the left of the "Start Test Run" button.
To view the status of a test run, first expand the test group by clicking somewhere on the row. You will now see a list of the integrations in the test group, as well as the status for each of them.

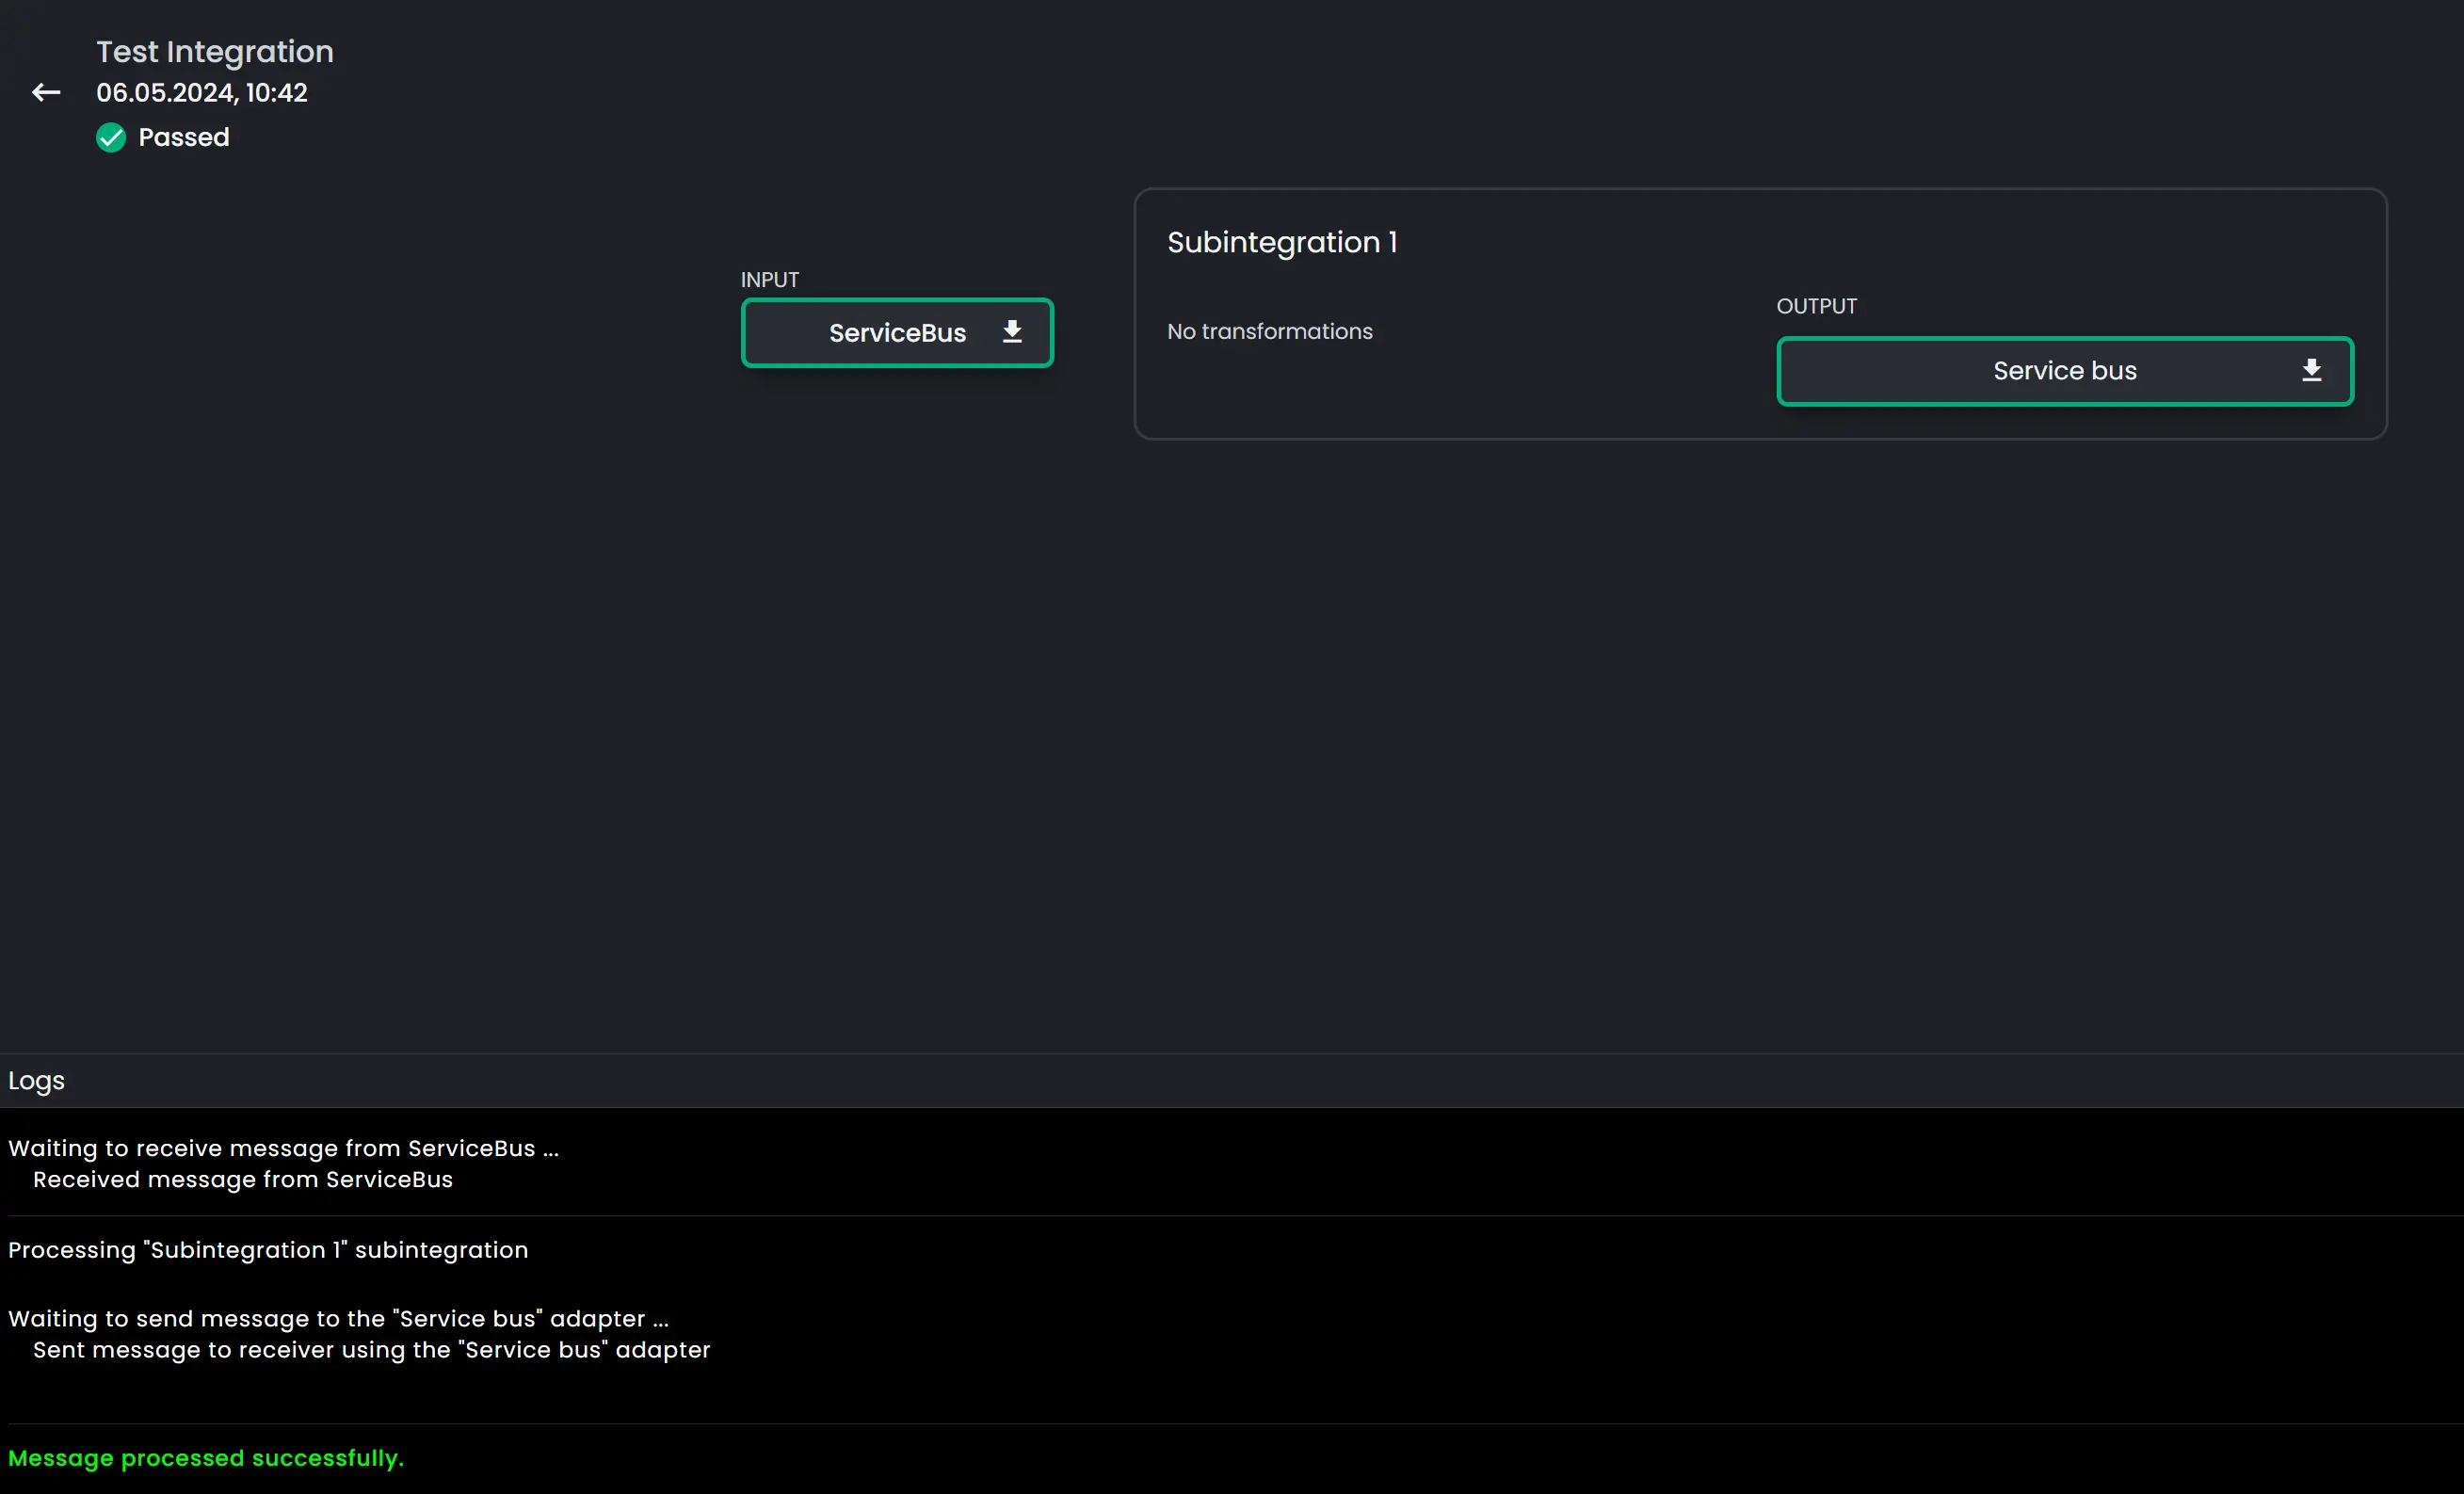
Test Details
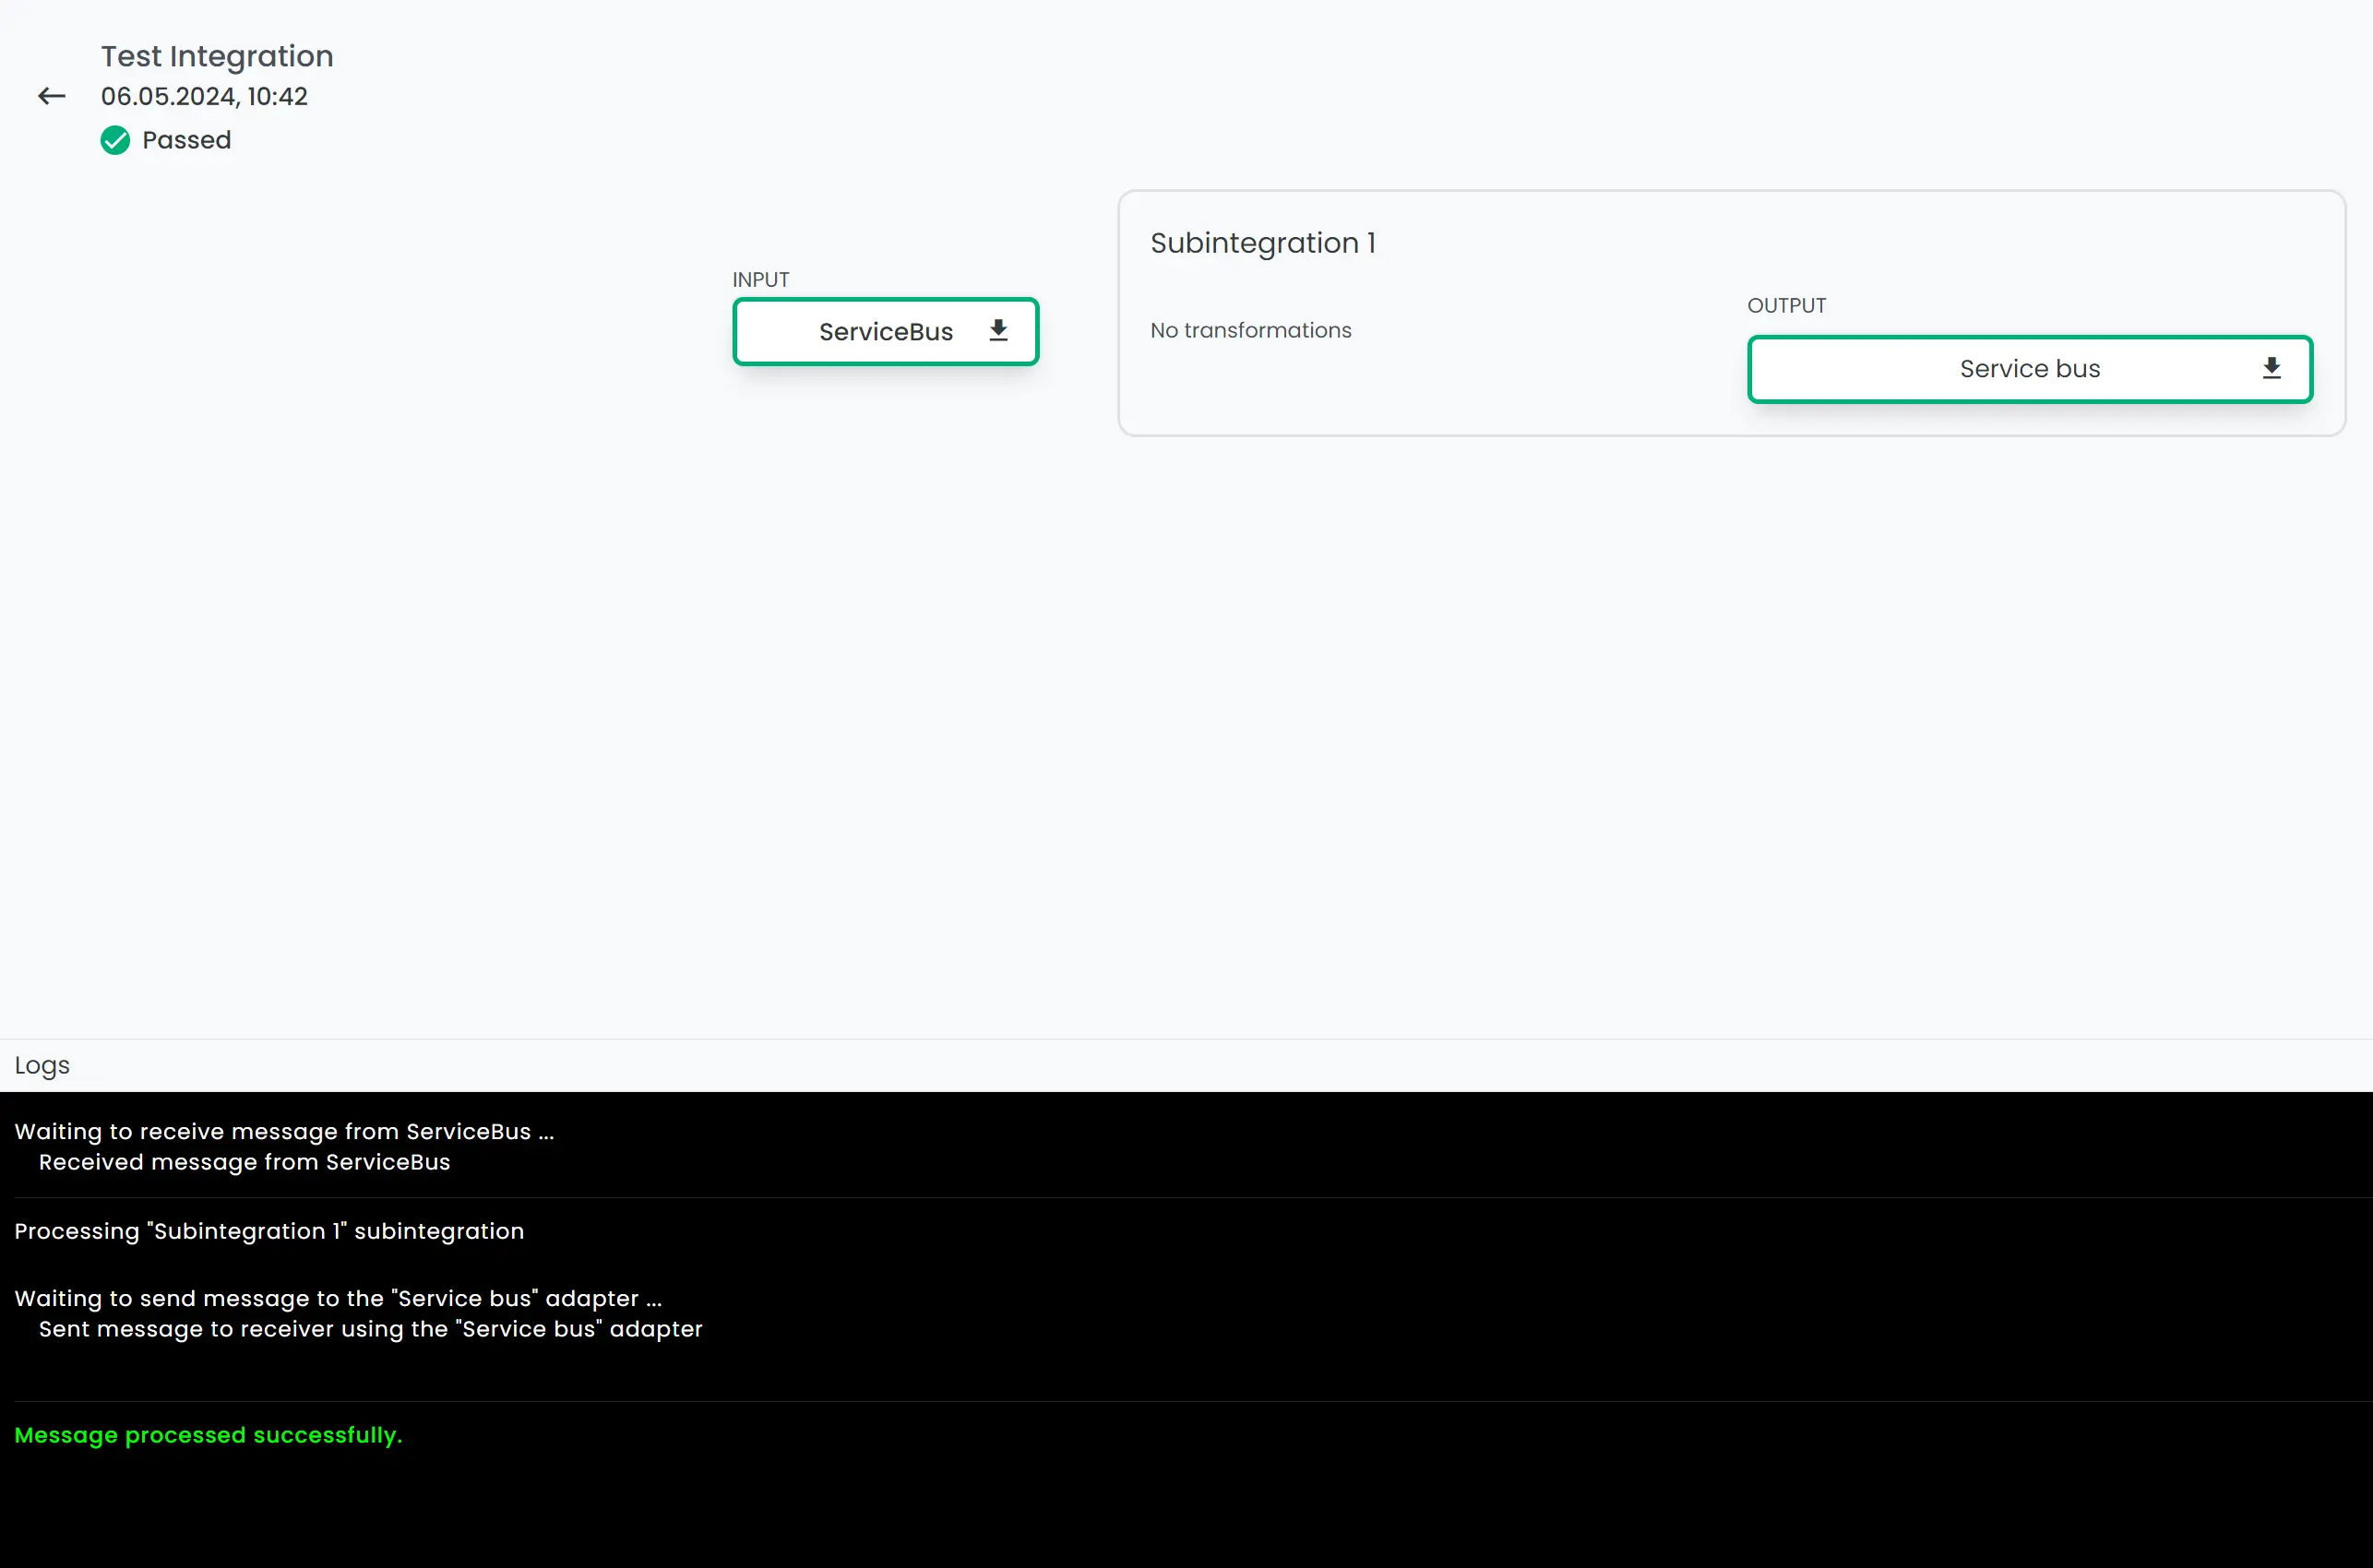
Users can easily access and view detailed run details for each test run performed using Connxio's testing framework. By clicking an integration a test group's expanded panel, users can retrieve comprehensive information about the test run, including the status, duration, start time, and any associated errors or failures. These run details offer valuable insights into the execution and outcome of the test, enabling users to effectively analyze and troubleshoot any issues encountered during the testing process.
Please note that when using Connxio's testing features, all messages generated during testing will count towards your subscription usage.
Important: We strongly recommend closely monitoring your testing activities and considering the potential cost implications before initiating extensive testing.
We advise all customers to review the pricing details and usage limits outlined in their Connxio subscription plan. By using the testing features judiciously and monitoring testing activities, you can optimize your usage and effectively manage subscription costs.