Creating Integrations
Before reading this page please read the core concepts page where we explain a lot of the concepts essential to understanding Connxio. This page describes the integration creation process and design in Connxio.
Starting out
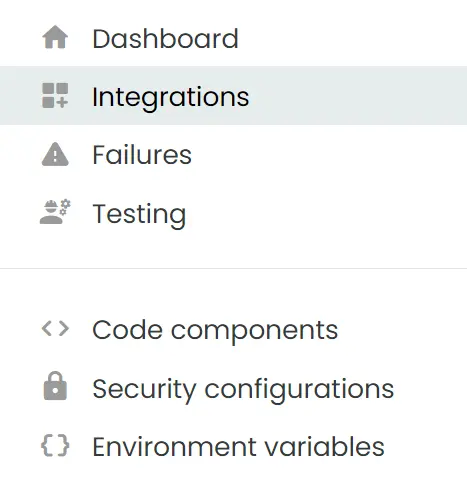
To start creating integrations you need to navigate to the Integrations entry in the Main Navigation on the left-hand side like so:
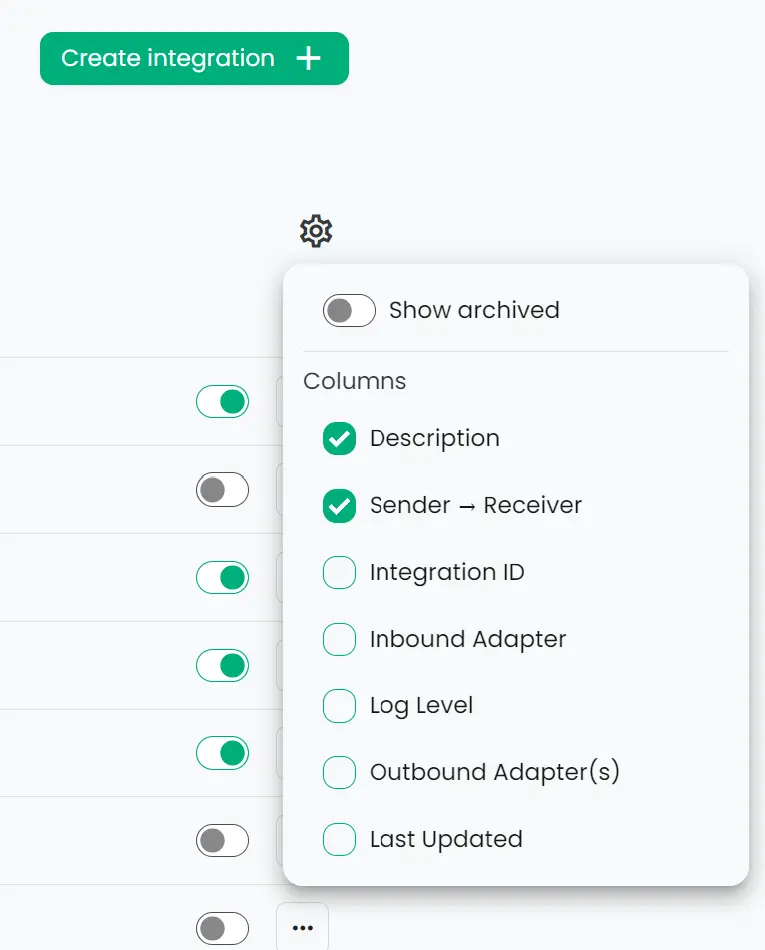
A list of all available integrations in your subscription pops up. You can search for integrations in the top left.
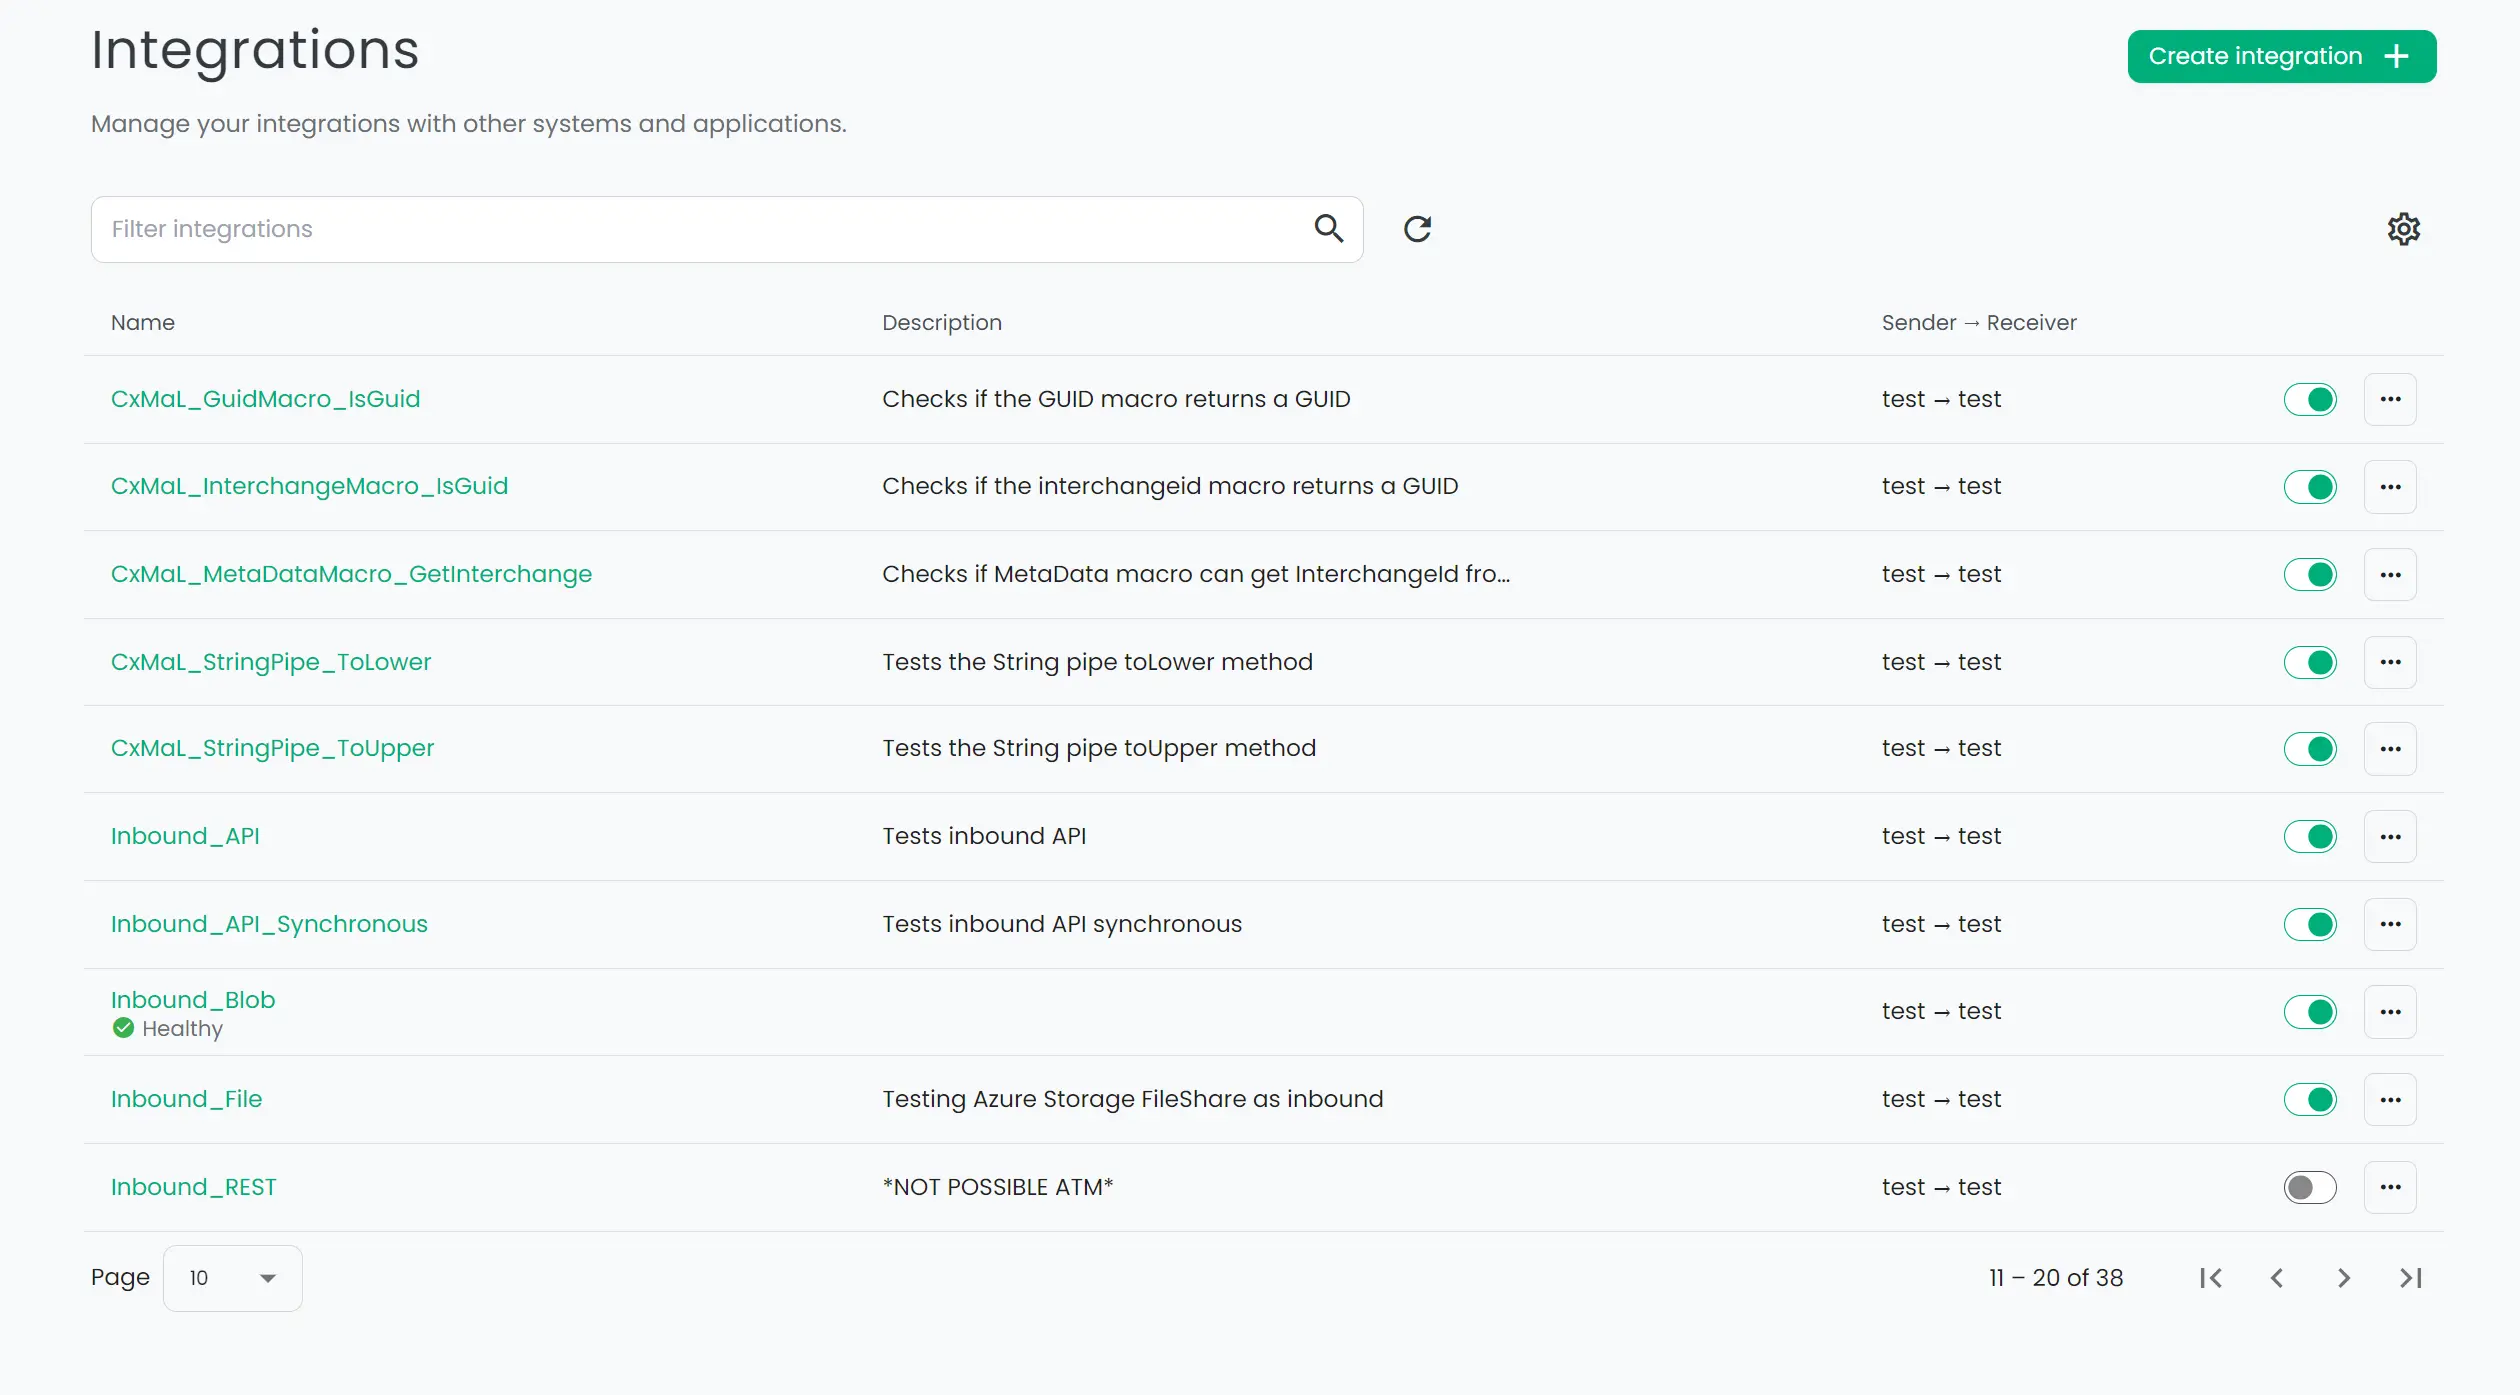
To the right of the search bar, are settings where you can toggle to view archived integrations and dynamic columns- meaning you can change the integration list columns to your liking. To add a new integration click the Add Integration button on the top right:
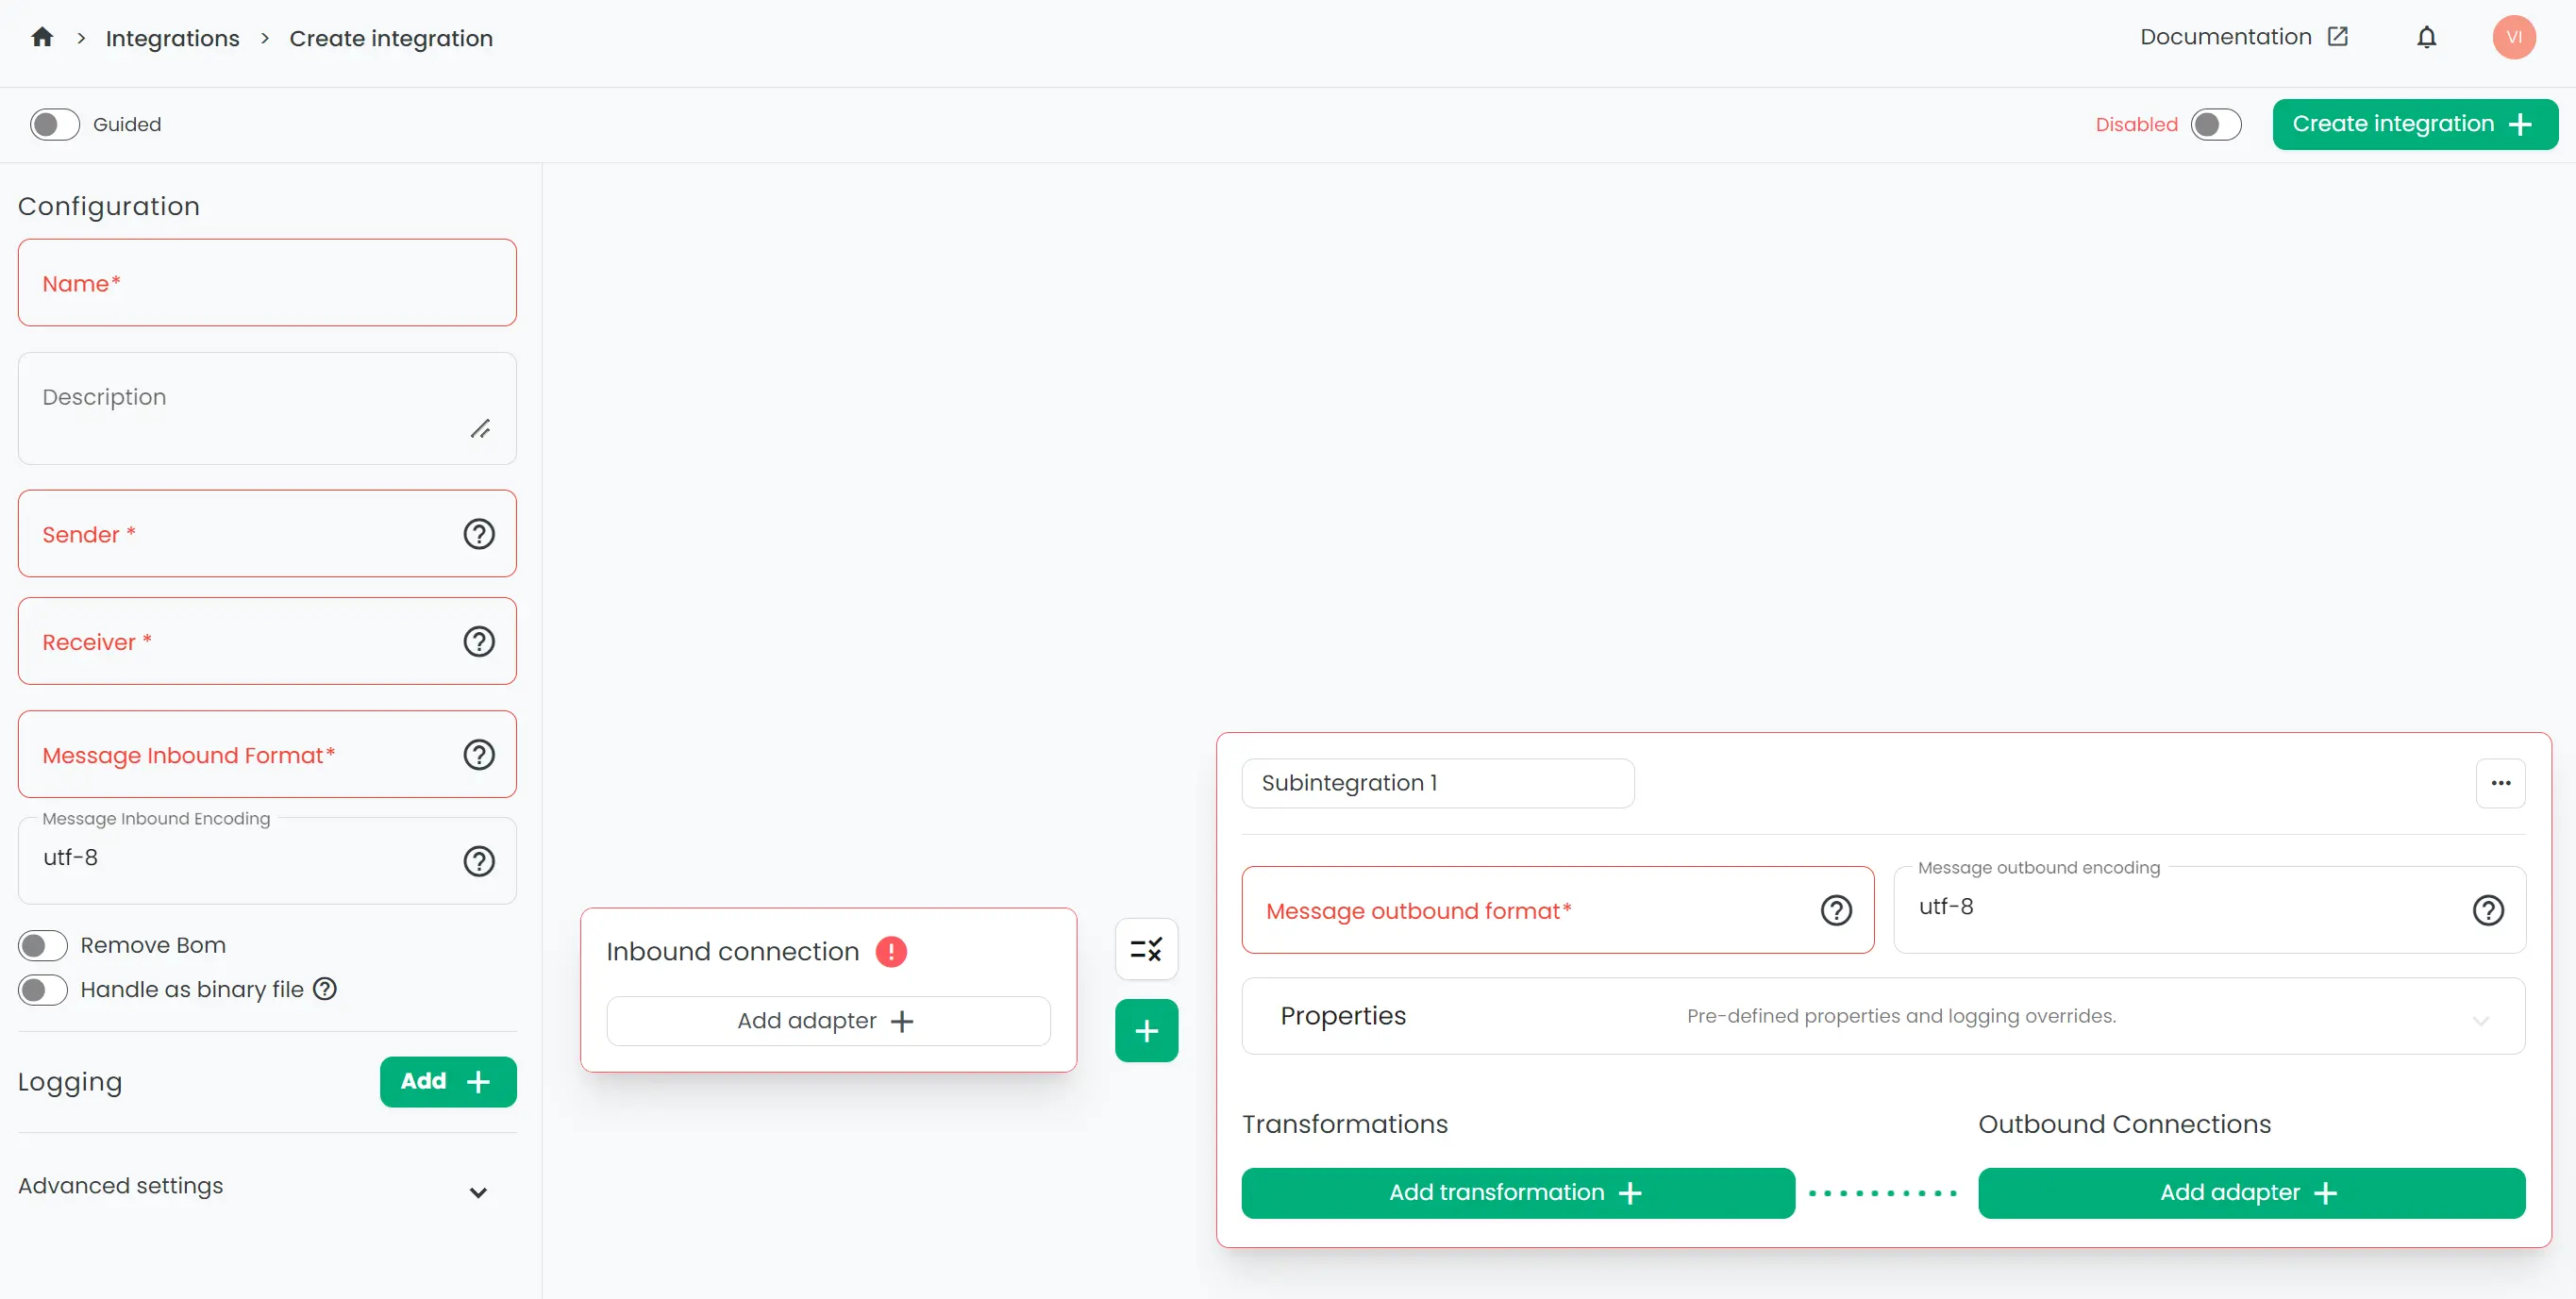
The creation window for integrations is displayed. This is the interface that holds all configuration related to integrations and where you will spend most of your time in Connxio. The complete interface looks like this when you first enter it, we will explain each section in turn further down this page:
Configuring general options
The general options of the integration configurations describes what type of integration the configuration represents and basic information related to the messages it will handle. The following properties are regarded as "general options":
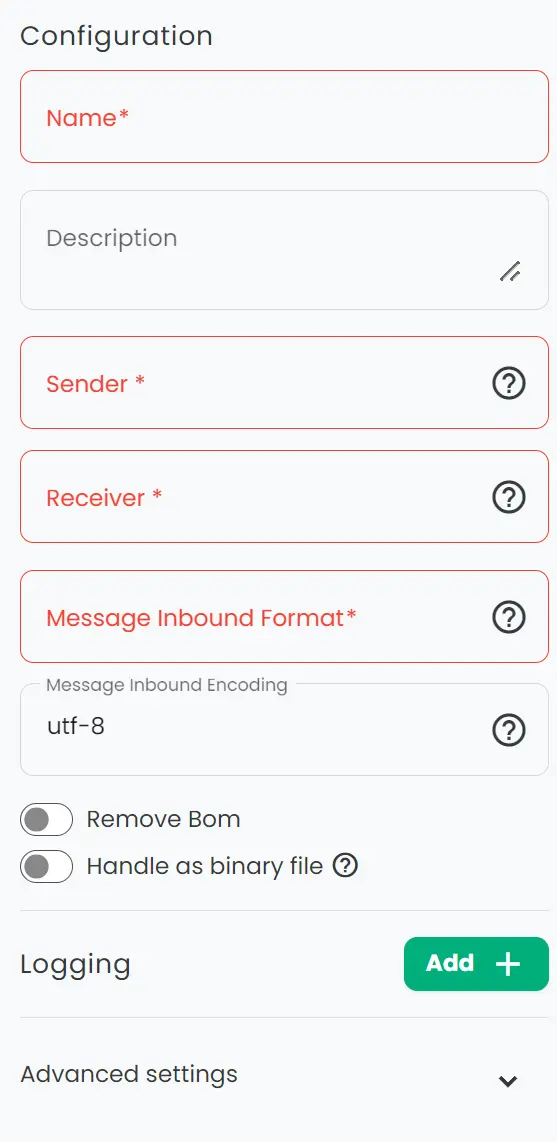
- Transaction type: Describes the transaction the integration represents. This is typically something like "Invoice" or "User".
- Description: Describes the integration in required detail. Should make it easier to recognize the integration when searching.
- Sender: Represents the system sending the message or data. A typical example is the name of the system or it's function like "Visma" or "AccountingSystem".
- Receiver: Represents the system receiving the message or data.
- Message Inbound format: Defines the inbound format of the message. This is typically "xml", "json", "csv", etc. It's important to be precise here as Connxio will use this property to name files when logging or handling data. We recommend using lowercase but all casing will work.
- Message Inbound Encoding: Defines the encoding of the message. It's very important to be exact when specifying encoding or the message could en up garbled. If this field is invalid or missing utf-8 encoding is used by default. Please see encoding for more information
- Remove Bom: BOM or "byte order mark" is explained here. Switch this on if you want Connxio to remove BOM from all message that enter the Connxio pipeline in this integration.
- Handle file as binary: This will enable you to send binaries, such as pdf documents and pictures. Note that when sending binaries split/batch and transformations are not supported. Read More
Logging
Logging is described on the Logging page.
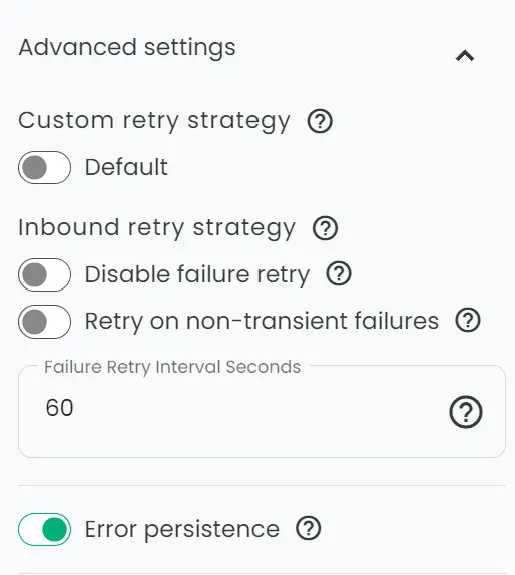
Advanced Settings
Sub integrations
A sub integration is a logical unit that represents the transformation and outbound adapter of an instance of a message. You can have multiple sub integrations within a single integration configuration but each and every one of them will use the same inbound adapter. This means that you can copy a file to multiple receivers by simply adding another sub integration at any time. You add more sub integrations by clicking the "+" symbol under the last sub integration box.
The sub integration contains the following configuration:
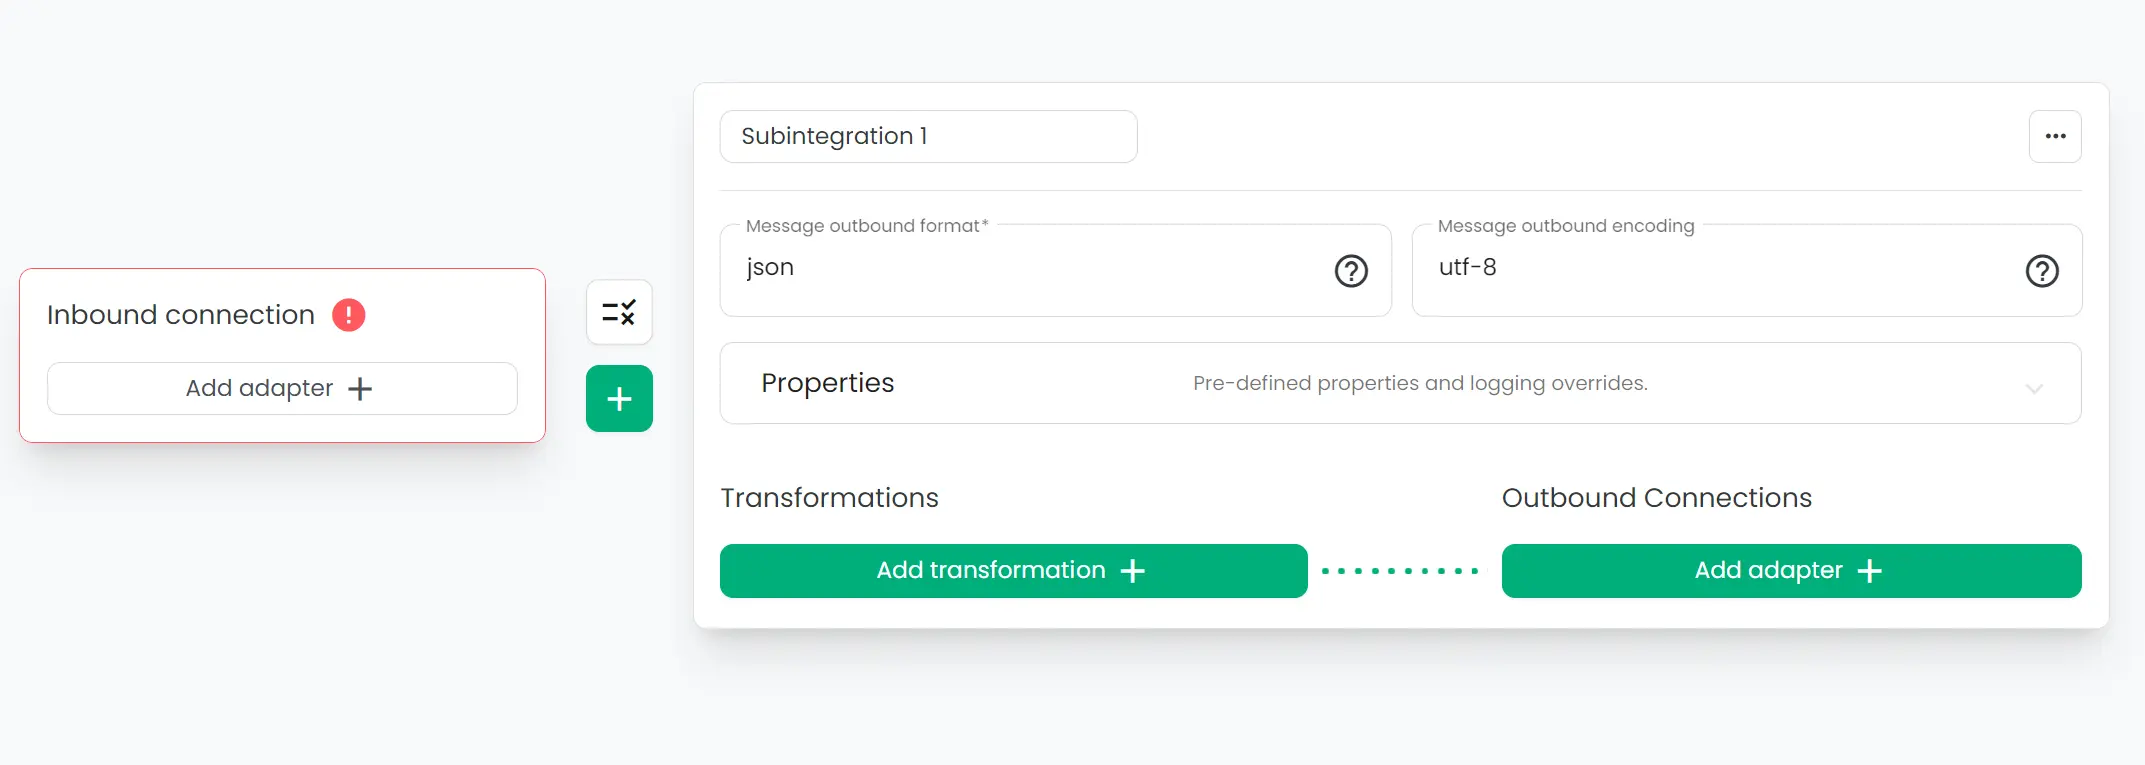
- Sub integration name: This field lets you name your sub integrations to keep track of what sub integration does what.
- Outbound format: Defines the outbound format of the message. This is typically "xml", "json", "csv", etc. It's important to be precise here as Connxio will use this property to name files when logging or handling data. We recommend using lowercase but all casing will work.
Structure
A sub integration is structured as a pipeline. This mirrors the pipeline in Connxio itself and includes the engines as boxes the user can interact with. The following boxes are present:
- Inbound Connection: This box is technically outside the sub integration but is the catalyst for all sub integrations in the integration. It represents the inbound adapter and fetching/receiving of data to the Connxio pipeline. You can only configure a single inbound connection on an integration configuration. The inbound section under "Adapters" explains how all the different adapters work.
- Transformations: This is a list of different transformations that are performed in the order they are depicted within the shape. The boxes representing each transformation can be moved by "clicking and dragging" each shape to the desired position. All transformations are described under the "Transformation" section.
- Outbound Connections: This box represents the delivery of messages to receivers. You can have multiple outbound adapters configured within this box. Each outbound adapter delivers a copy of the message received from the "Transformations" step. The order of the outbound adapters does not matter as the delivery is handled in parallel and not sequentially. You can read about all outbound adapters in the Adapters -> Outbound section of the documentation.