Scripts
Scripts are an alternative way of transforming data in Connxio. Instead of uploading code components, you can write JavaScript directly in the Connxio portal. This is a quick and easy way to do small transformations without having to create, test, and upload code components. You have full access to the message content and metadata, and can use standard JavaScript libraries to manipulate the data.
For security reasons, scripts run in a sandboxed environment with limited access to system resources. This means that certain operations, such as file I/O, are not available. The fetch API is available for making HTTP requests, but other network operations are restricted.
Creating a script
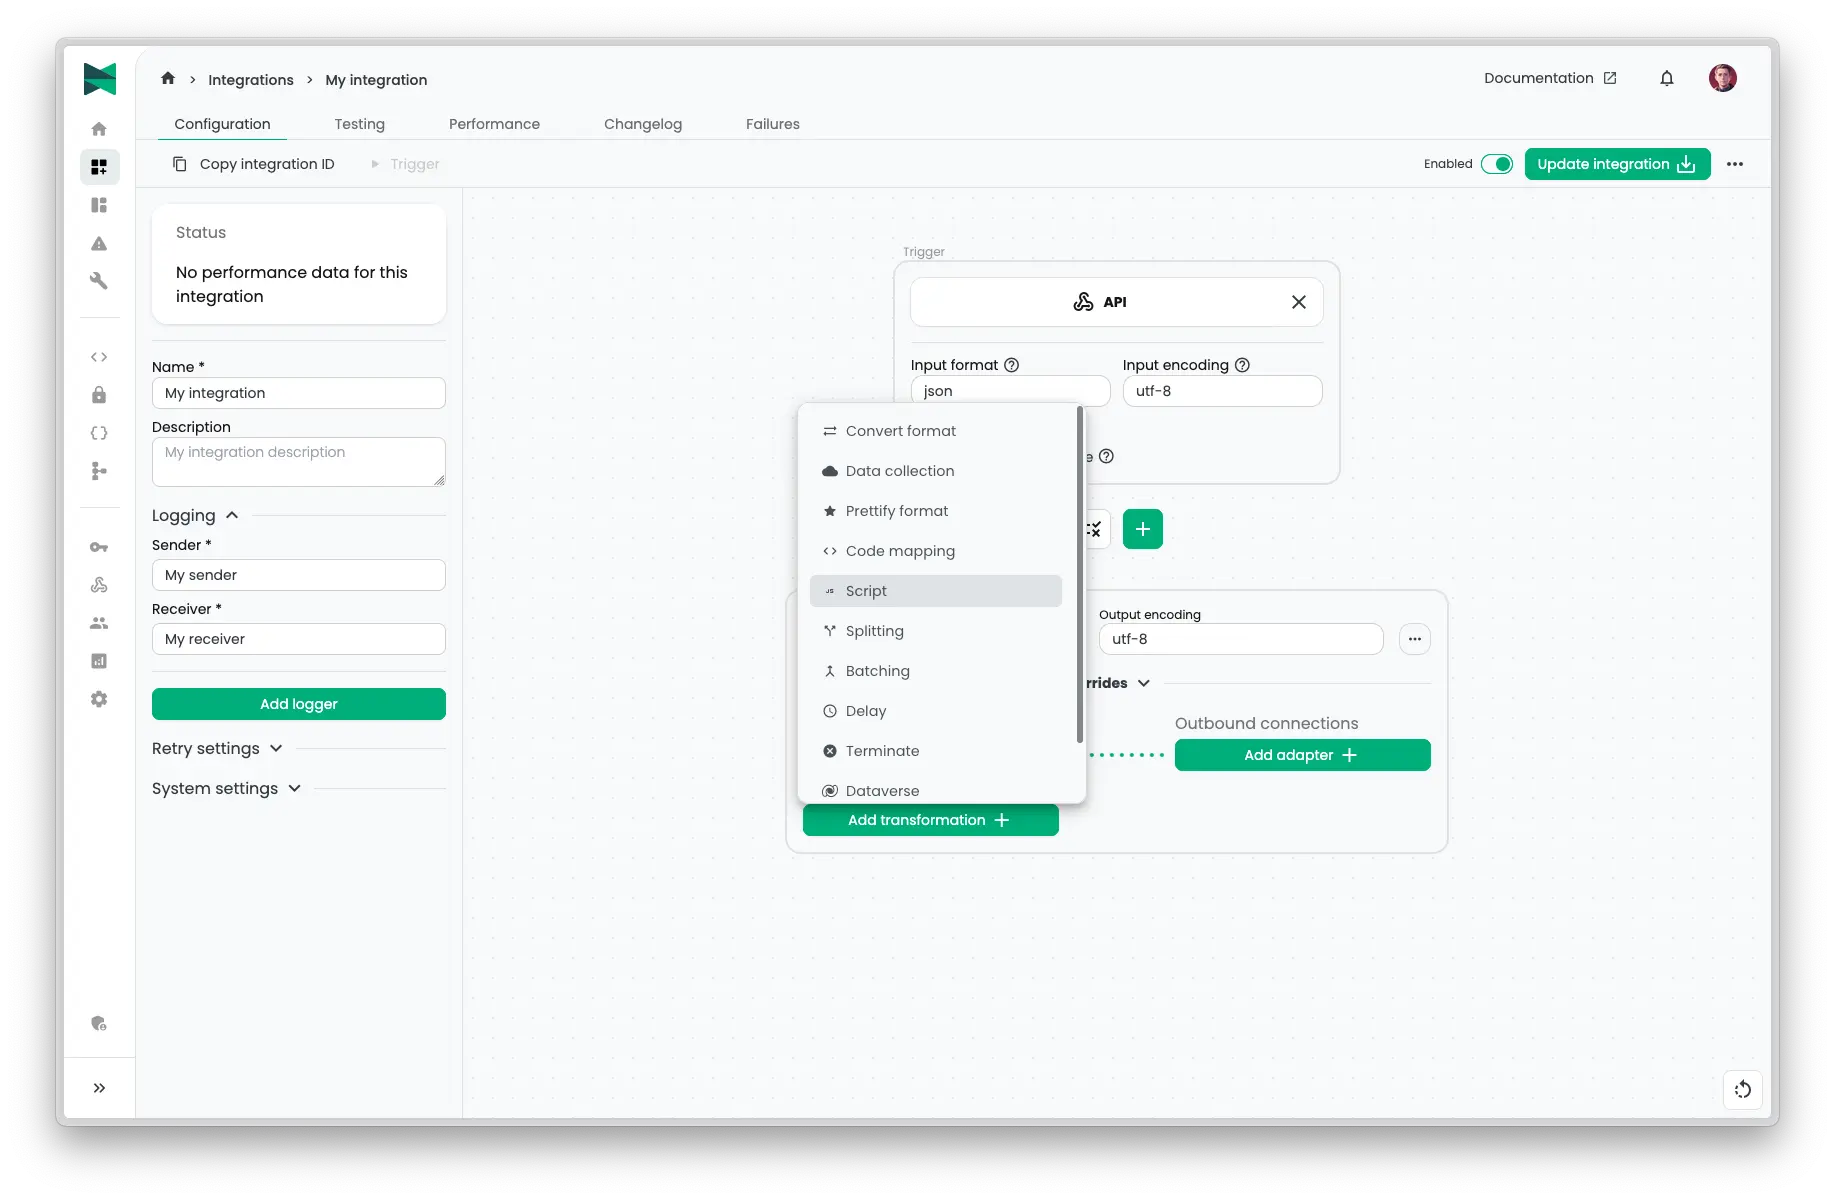
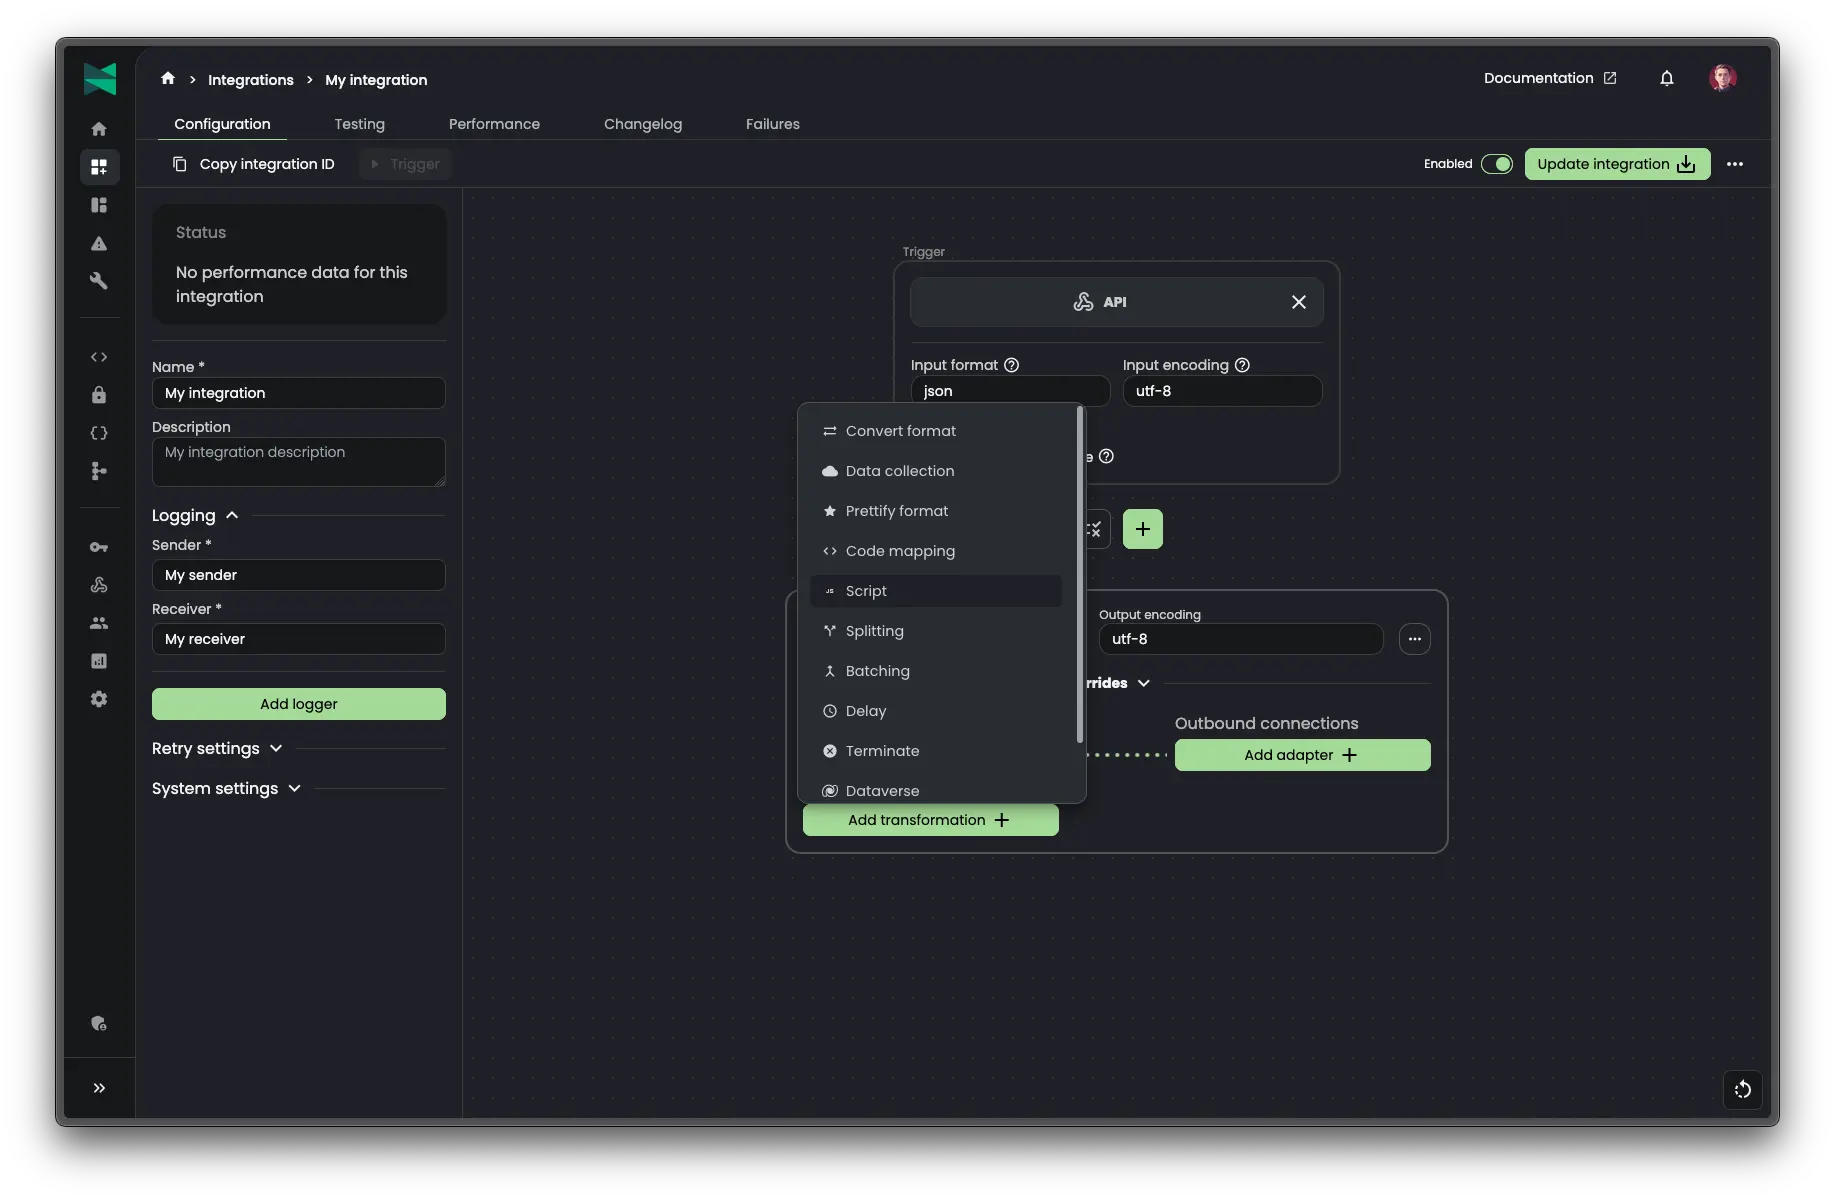
To create a script, add a new transformation shape to your integration and select "Script" as the transformation type.
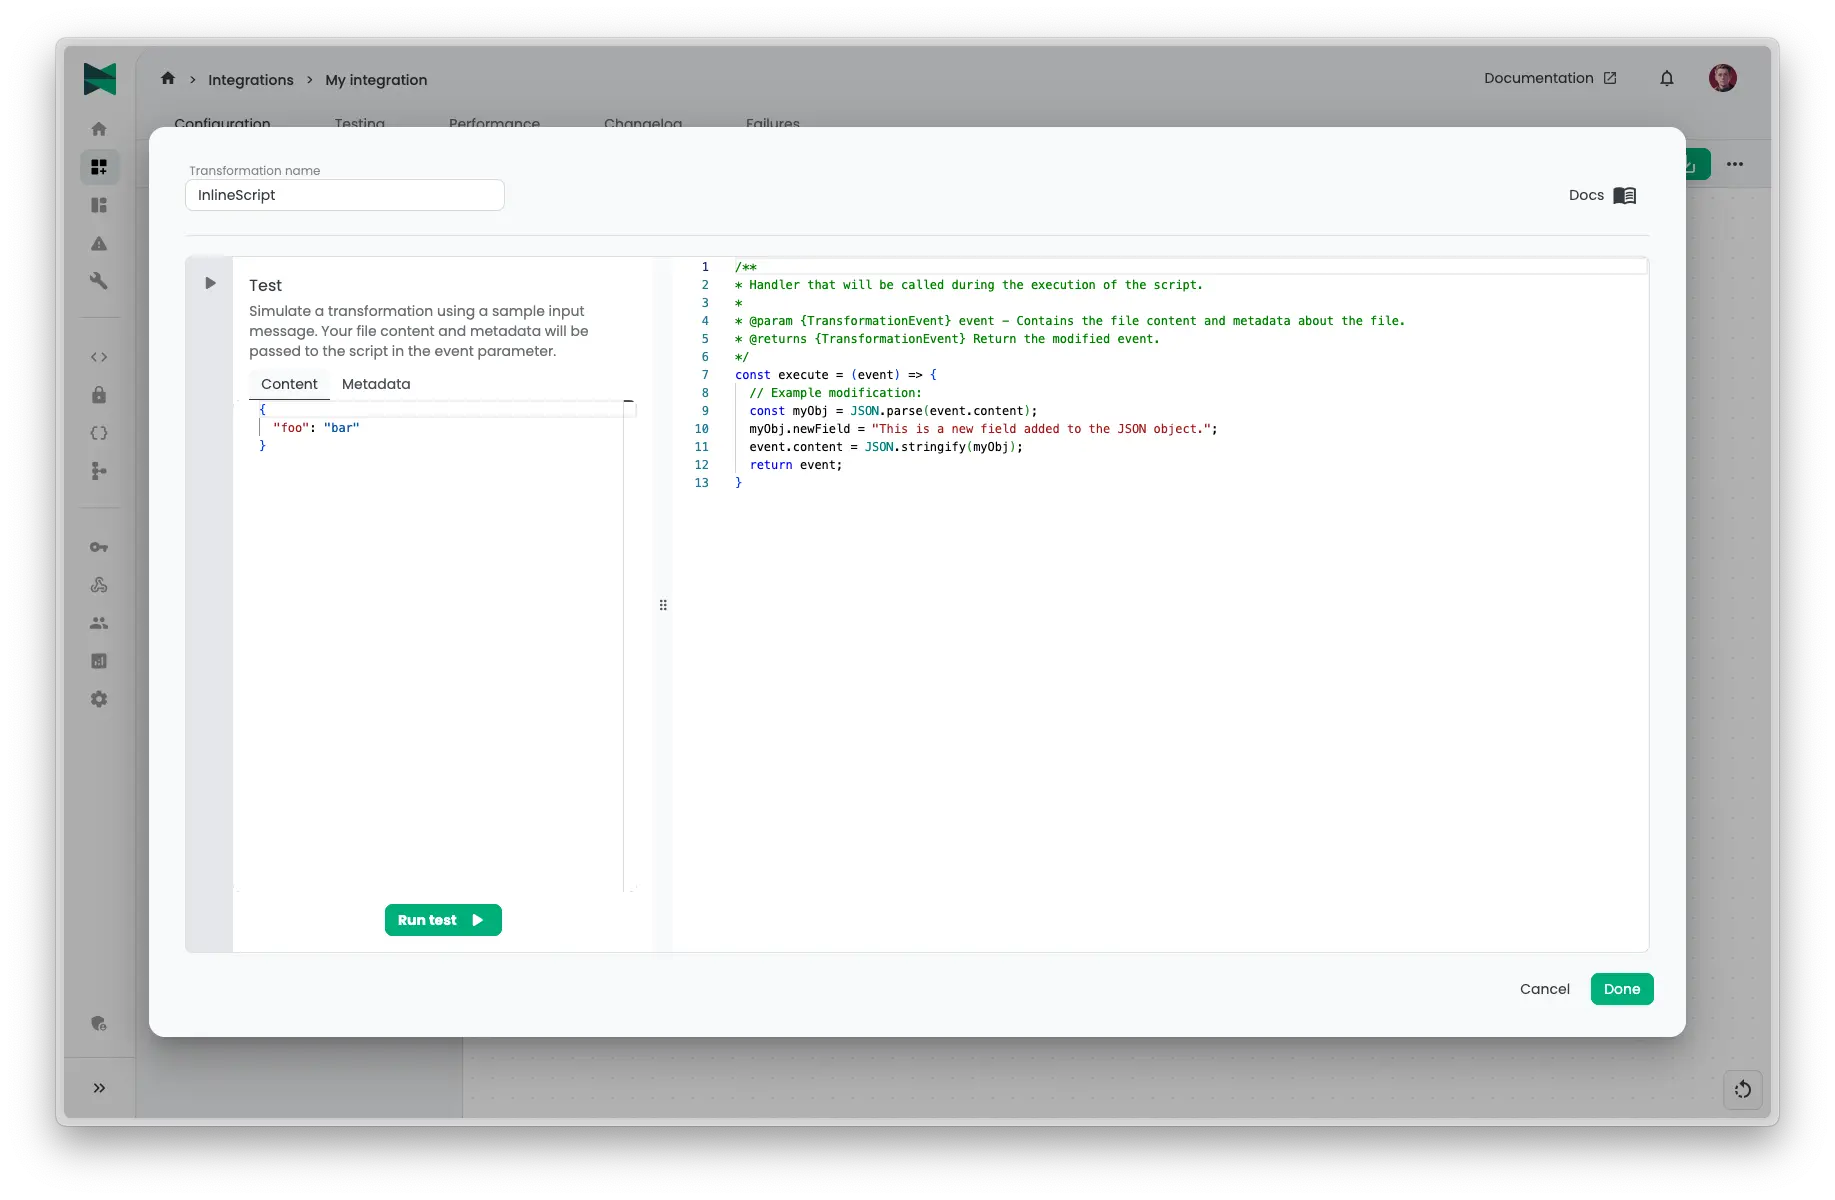
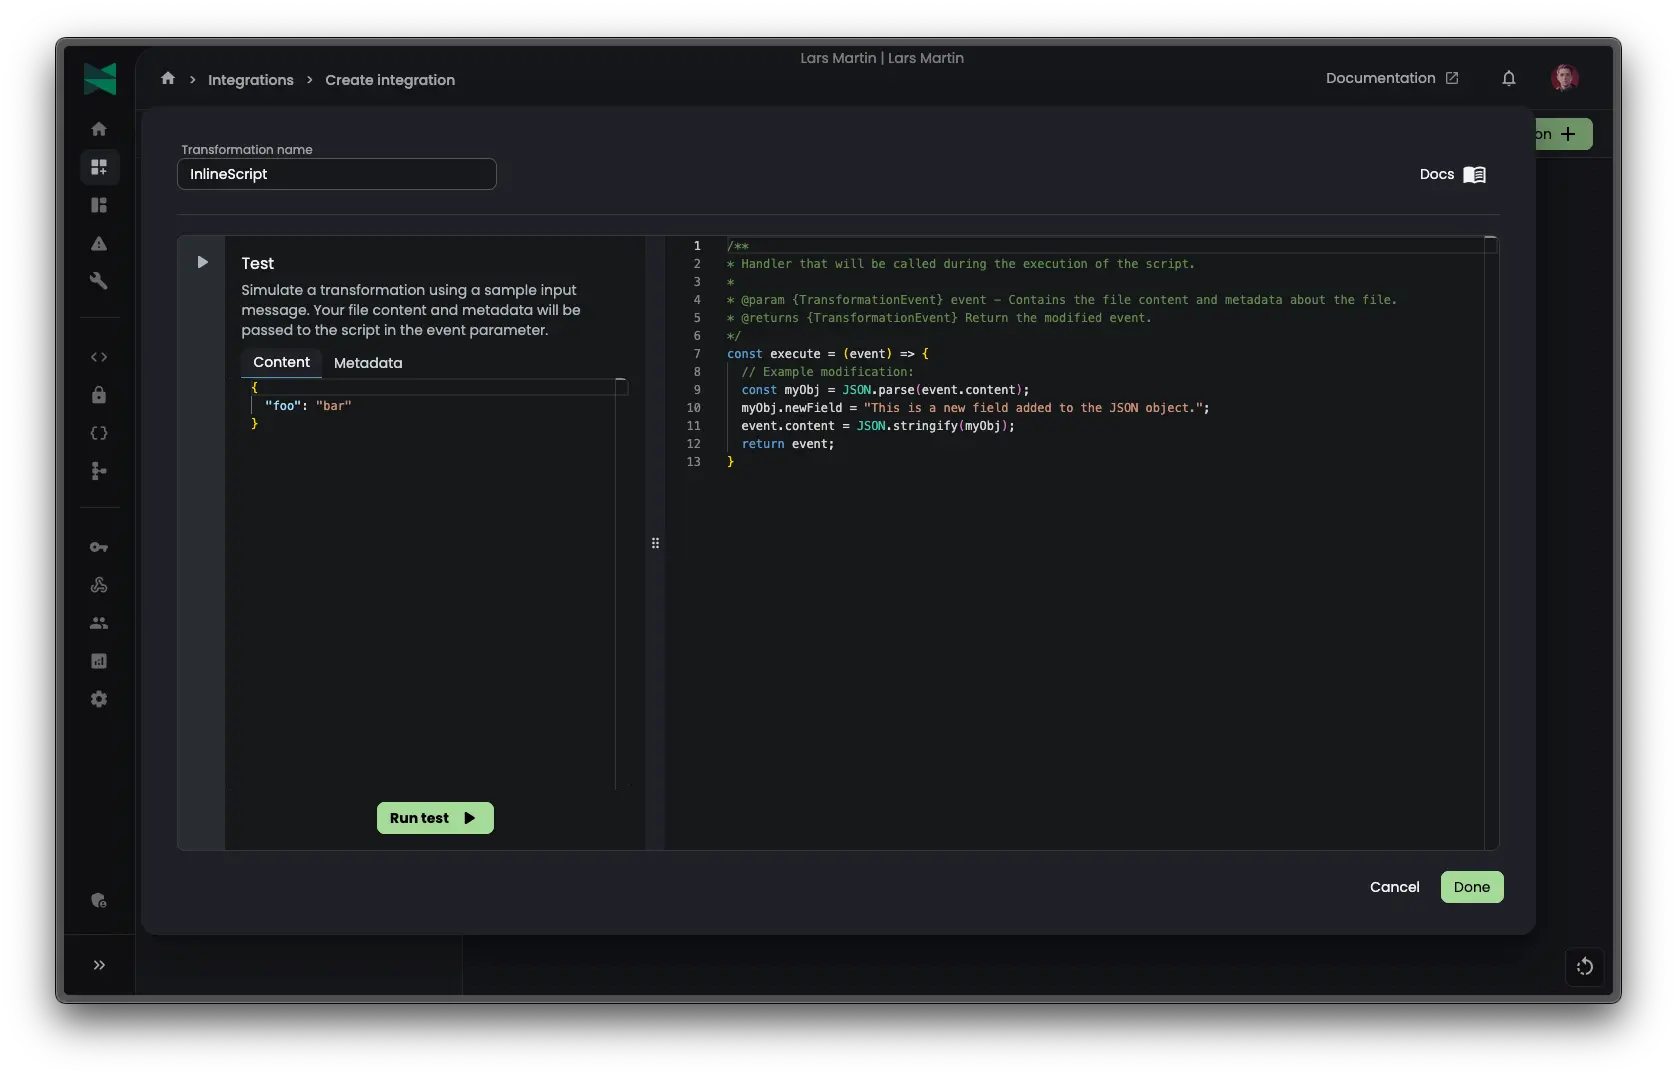
You will then be presented with a code editor where you can write your JavaScript code. From here you can make use of the event object which contains the message content and metadata. An example script is provided by default, which you can modify to suit your needs.
/**.
* Handler that will be called during the execution of the script.
*
* @param {TransformationEvent) event - Contains the file content and metadata about the file.
* @returns {TransformationEvent} Return the modified event.
*/
const execute = (event) => <
// Example modification:
  const myobj = JSON.parse(event.content):
  myObj newField = "This is a new field added to the JSON object.";
  event.content = JSON.stringify(myObj):
  return event;
}
When you are done writing your script, click "Done" and save the integration. The script will now be executed whenever a message passes through the transformation shape in your integration.
Testing a script
Included in the script editor is a "Test Script" feature that allows you to test your script with sample data. This is useful for verifying that your script works as expected before deploying it in a live integration. You can provide a test input and metadata, and see the output generated by your script.
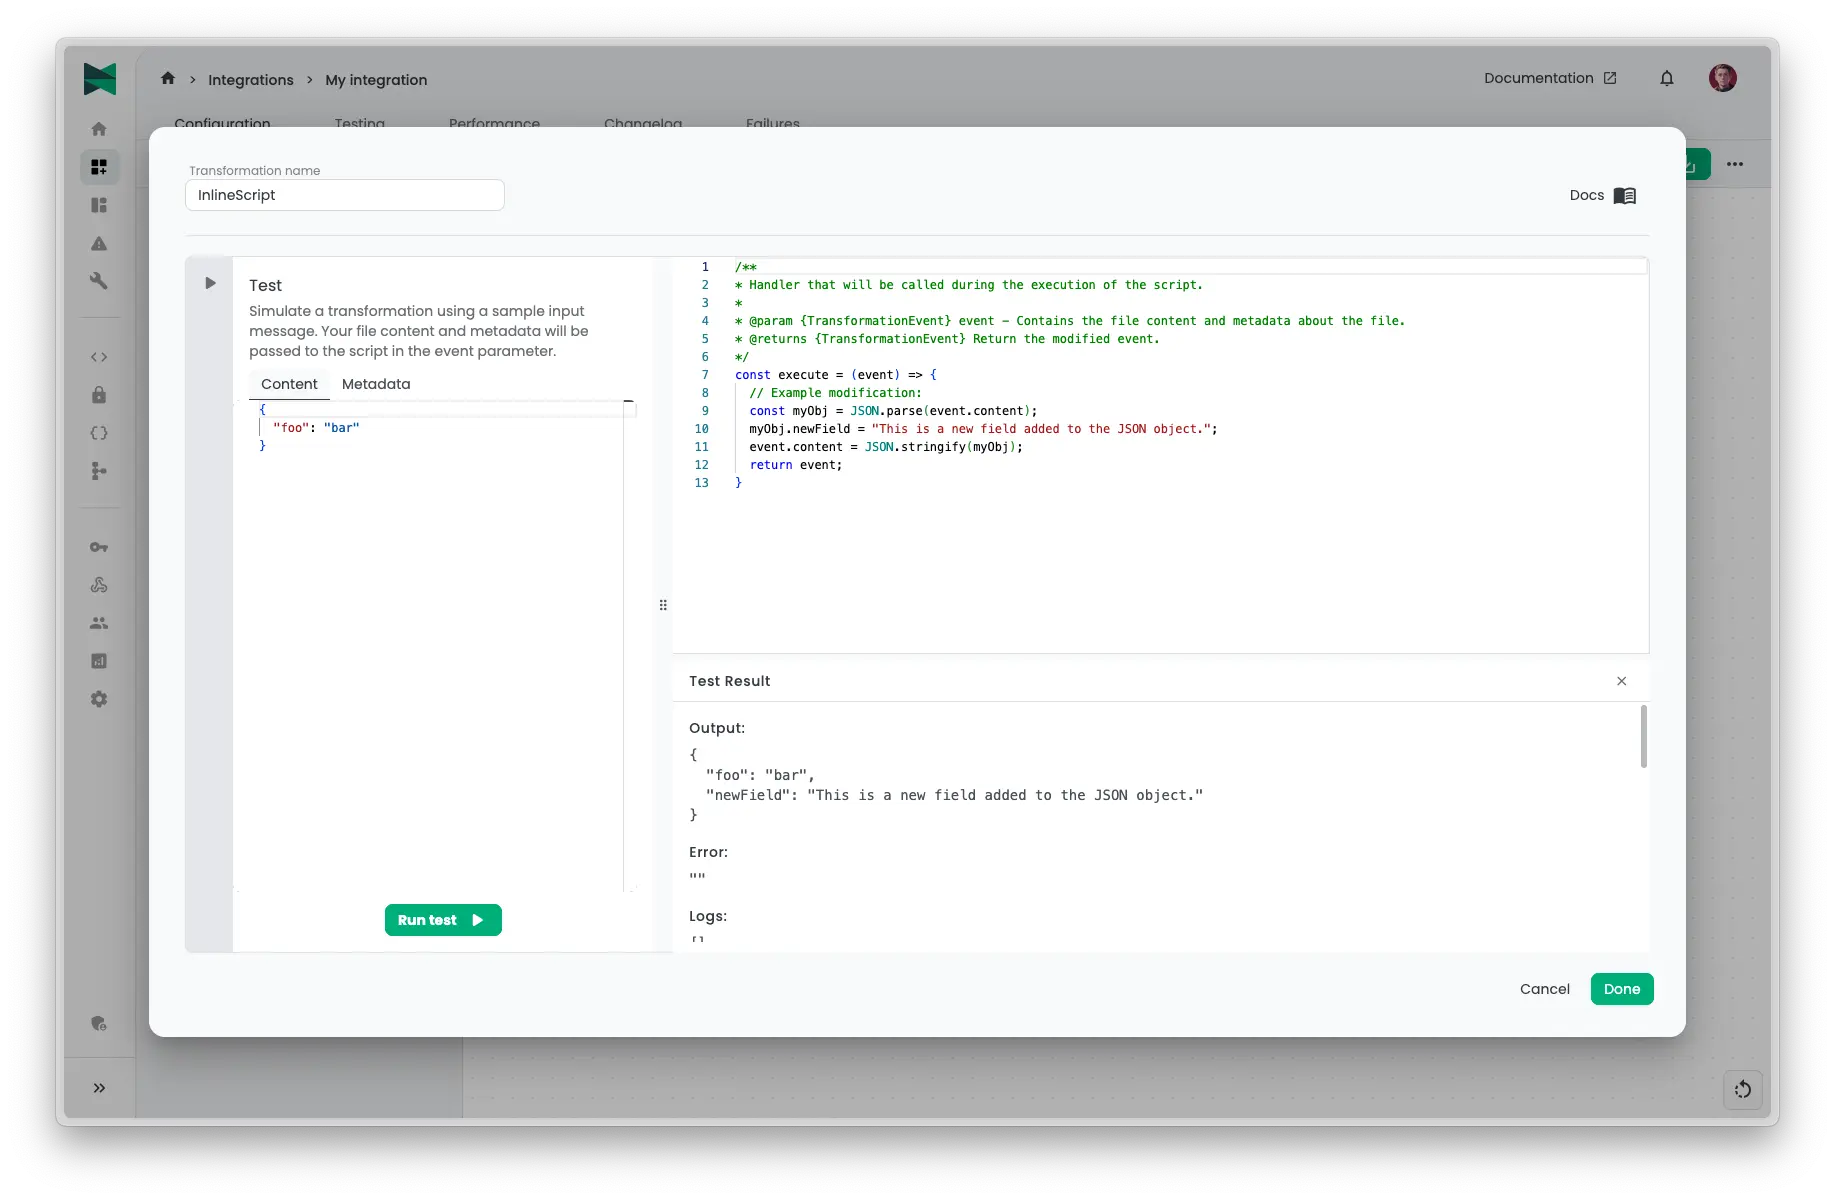
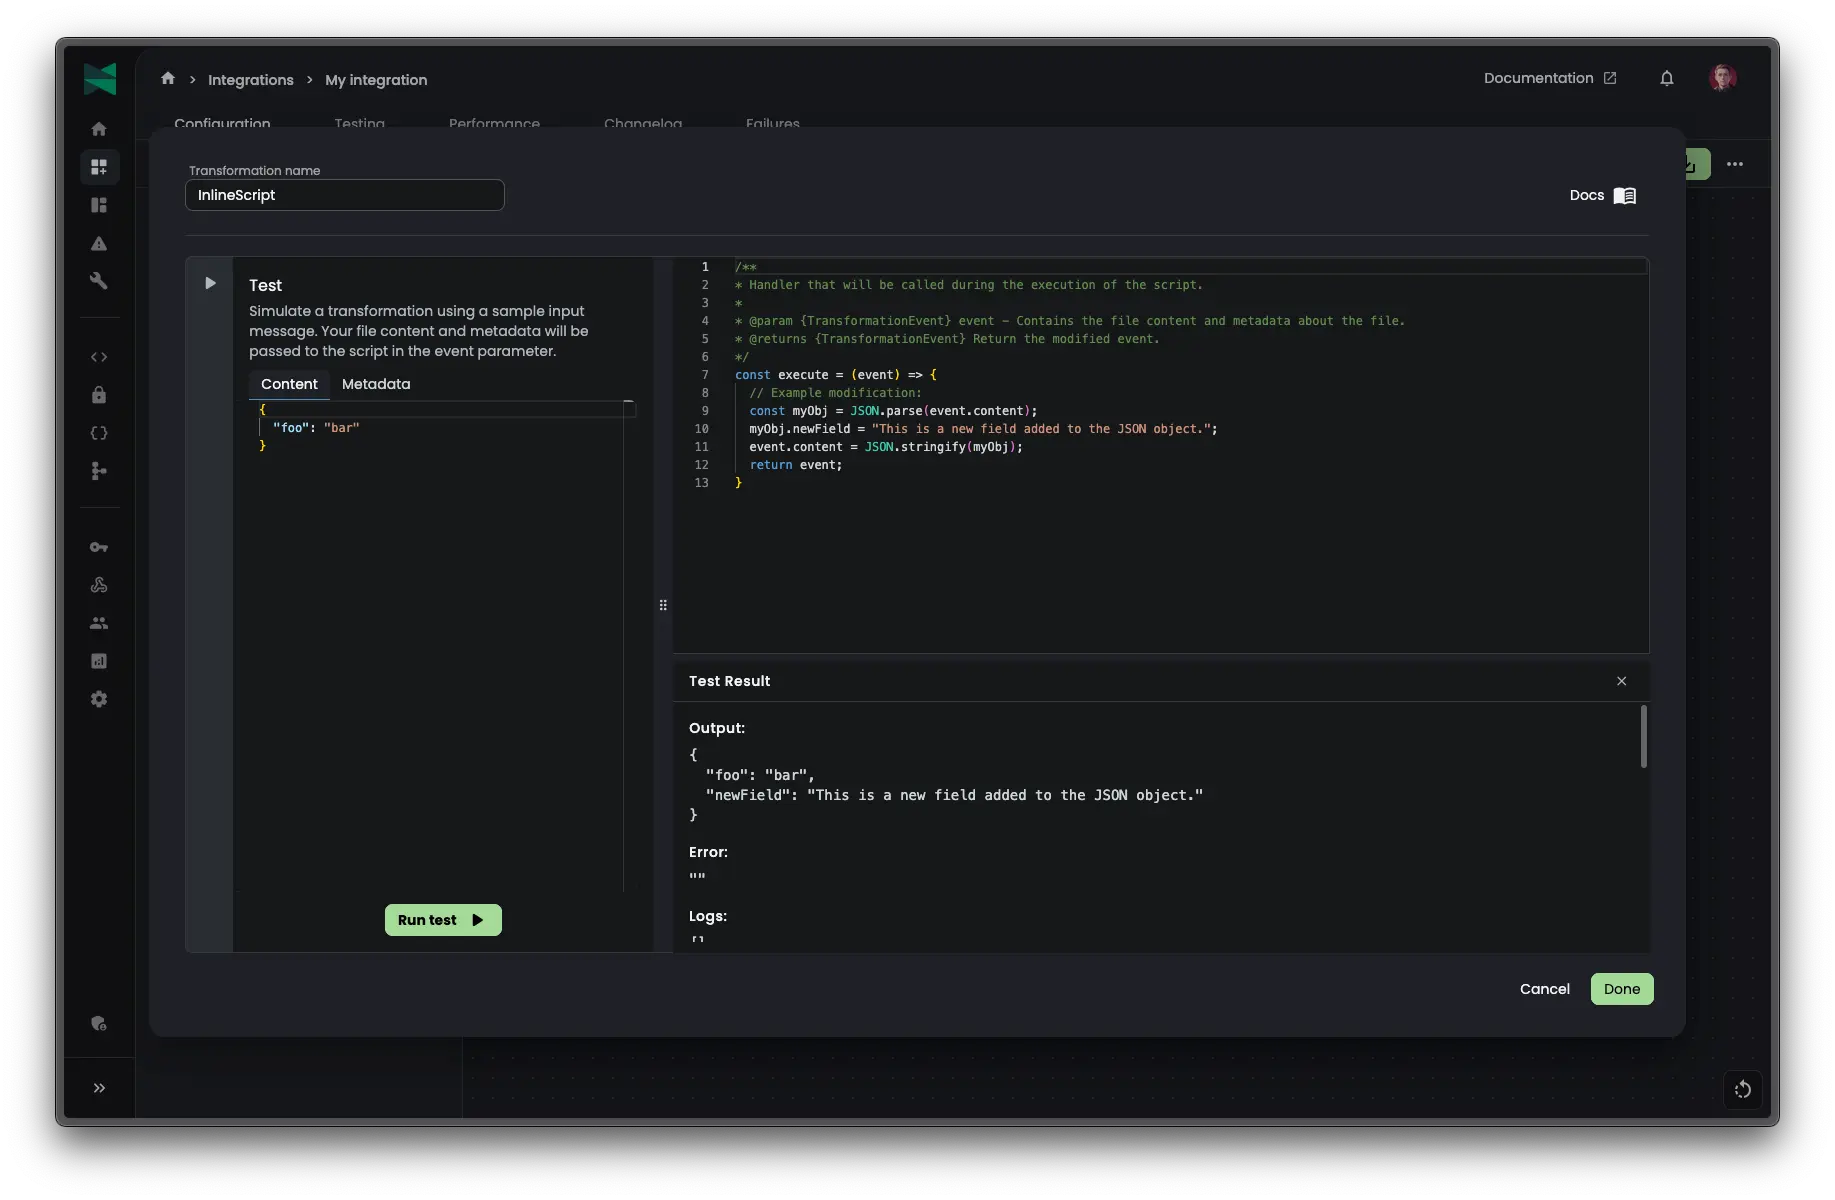
Any errors in your script will be displayed in the errors section, allowing you to quickly identify and fix issues.
You can also make use of console.log() statements in your script to output debug information to the console. This can be helpful for troubleshooting and understanding the flow of your script. The logs are displayed in the "Logs" section of the test results and are ordered in the sequence they were called during script execution. When running the script in a live integration, all logs will be ignored for performance reasons.
Dependencies
You can import external JavaScript modules in your scripts using ESM (ECMAScript Modules) syntax. Modules are automatically resolved from jsDelivr or esm.sh, so you can import them by package name and version:
import { cloneDeep } from "lodash-es@4.17.23";
- Always specify a version when importing modules to ensure consistent behavior
- If no version is specified, the latest version available will be used, which may lead to unexpected changes if the module is updated
Example: XML to JSON transformation
import { XMLParser } from "fast-xml-parser@5.3.4";

/**
 * @param {TransformationEvent} event - Contains the file content and metadata about the file.
 * @returns {TransformationEvent} Return the modified event.
 */
const execute = (event) => {
  const xmlString = event.content;
  // Create parser instance
  const parser = new XMLParser();
  // Parse XML
  const result = parser.parse(xmlString);
  const myObj = {
    id: result.Root.TheProperty.TheId,
  };
  event.content = JSON.stringify(myObj);
  return event;
};
- Only modules with ESM builds are supported
- Module compatibility varies depending on the module's dependencies and implementation. Modules without external dependencies have the highest likelihood of working correctly in the sandboxed environment
- Adding a module import will increase the execution time of your script
Termination
You can terminate a message by throwing an Error from your script. Connxio will check the error message for specific code words to determine how to handle the termination. For any other exceptions, the message will be terminated with an error log level.
You can supply the termination error message with a set of code words to influence the behavior of the termination process. The pipeline is always terminated but the code word controls the logging associated with it. You supply these code words in the following way:
//The code word before the pipe (|) is used to select the action while the text after the pipe is used as the log event message sent via the [logging events functionality](/integrations/logging).
throw new Error("Warning|Integration terminated with warning");
We support the following options on termination:
| Code word | Action |
|---|---|
| Success | The termination is logged as a success with the minimum log level |
| Warning | The termination is logged as a warning with the minimum log level |
| Error | The termination is logged as an error with the none log level |
| Loglevel:None | The termination is logged with the terminated status but with the none log level instead of the default minimum level |
| Loglevel:Never | The termination is not logged |
| PersistError | Add |PersistError at the end of the error message to persist the error to failures |
| Default behavior | The integration is not considered terminated by the user and normal error handling takes over |